Dr. Neil's Notes
Software > Coding
.NET GUI application on Raspberry Pi with Avalonia
Introduction
In previous Notes I have documented how to get a Raspberry Pi setup to develop with .NET, a few simple console programs that Animate ASCII art, display a clock, and display the weather.
In this Note I explain how to build a desktop application on the Raspberry Pi that has a window displaying a the time and weather. This will combine the experience of building the console application to display the clock and the weather. The graphical user interface (or GUI) will be built using an open source GUI toolkit called Avalonia.
Before reading this Note, it is recommended you read the Notes on how to display a clock, and display the weather on the Raspberry Pi.
The code shown in this Note may work on other platforms supported by .NET 6, it has been tested on a Raspberry Pi, Windows, and Mac.
If you want to get a Raspberry Pi setup to run .NET code, follow the instructions in the .NET Development on a Raspberry Pi Note.
This Note assumes you have installed .NET 6 and Visual Studio Code.
Create the project
If there is not already a folder for code projects, create a folder for code projects. I created a folder called dev.
Open a Terminal window on the Raspberry Pi, and navigate to the folder where you want to create the new folder (e.g. Documents), then enter
 mkdir dev
 ```

This makes the directory **dev**

Navigate to that directory

```console
 cd dev
 ```

Create a directory for this project, named **dotnetPiGui**

```console
 mkdir dotnetPiGui
 ```

Change the directory to the new folder just created.

```console
 cd dotnetPiGui/
 ```

To make it simpler to create projects that support Avalonia install the dotnet project templates for Avalonia

```console
dotnet new -i Avalonia.Templates
Create a simple Avalonia GUI application with the following command
dotnet new avalonia.app
To see the files created, use the tree command
~/Documents/dev/dotnetPiGui $ tree
.
├── App.axaml
├── App.axaml.cs
├── dotnetPiGui.csproj
├── MainWindow.axaml
├── MainWindow.axaml.cs
└── Program.cs

0 directories, 6 files
Compile and run the new application from the Terminal window with dotnet run
The dotnet run command will compile the project code in the current folder and run it.
dotnet run
The project will be built and then run, showing a simple blank window with the text 'Welcome to Avalonia!'
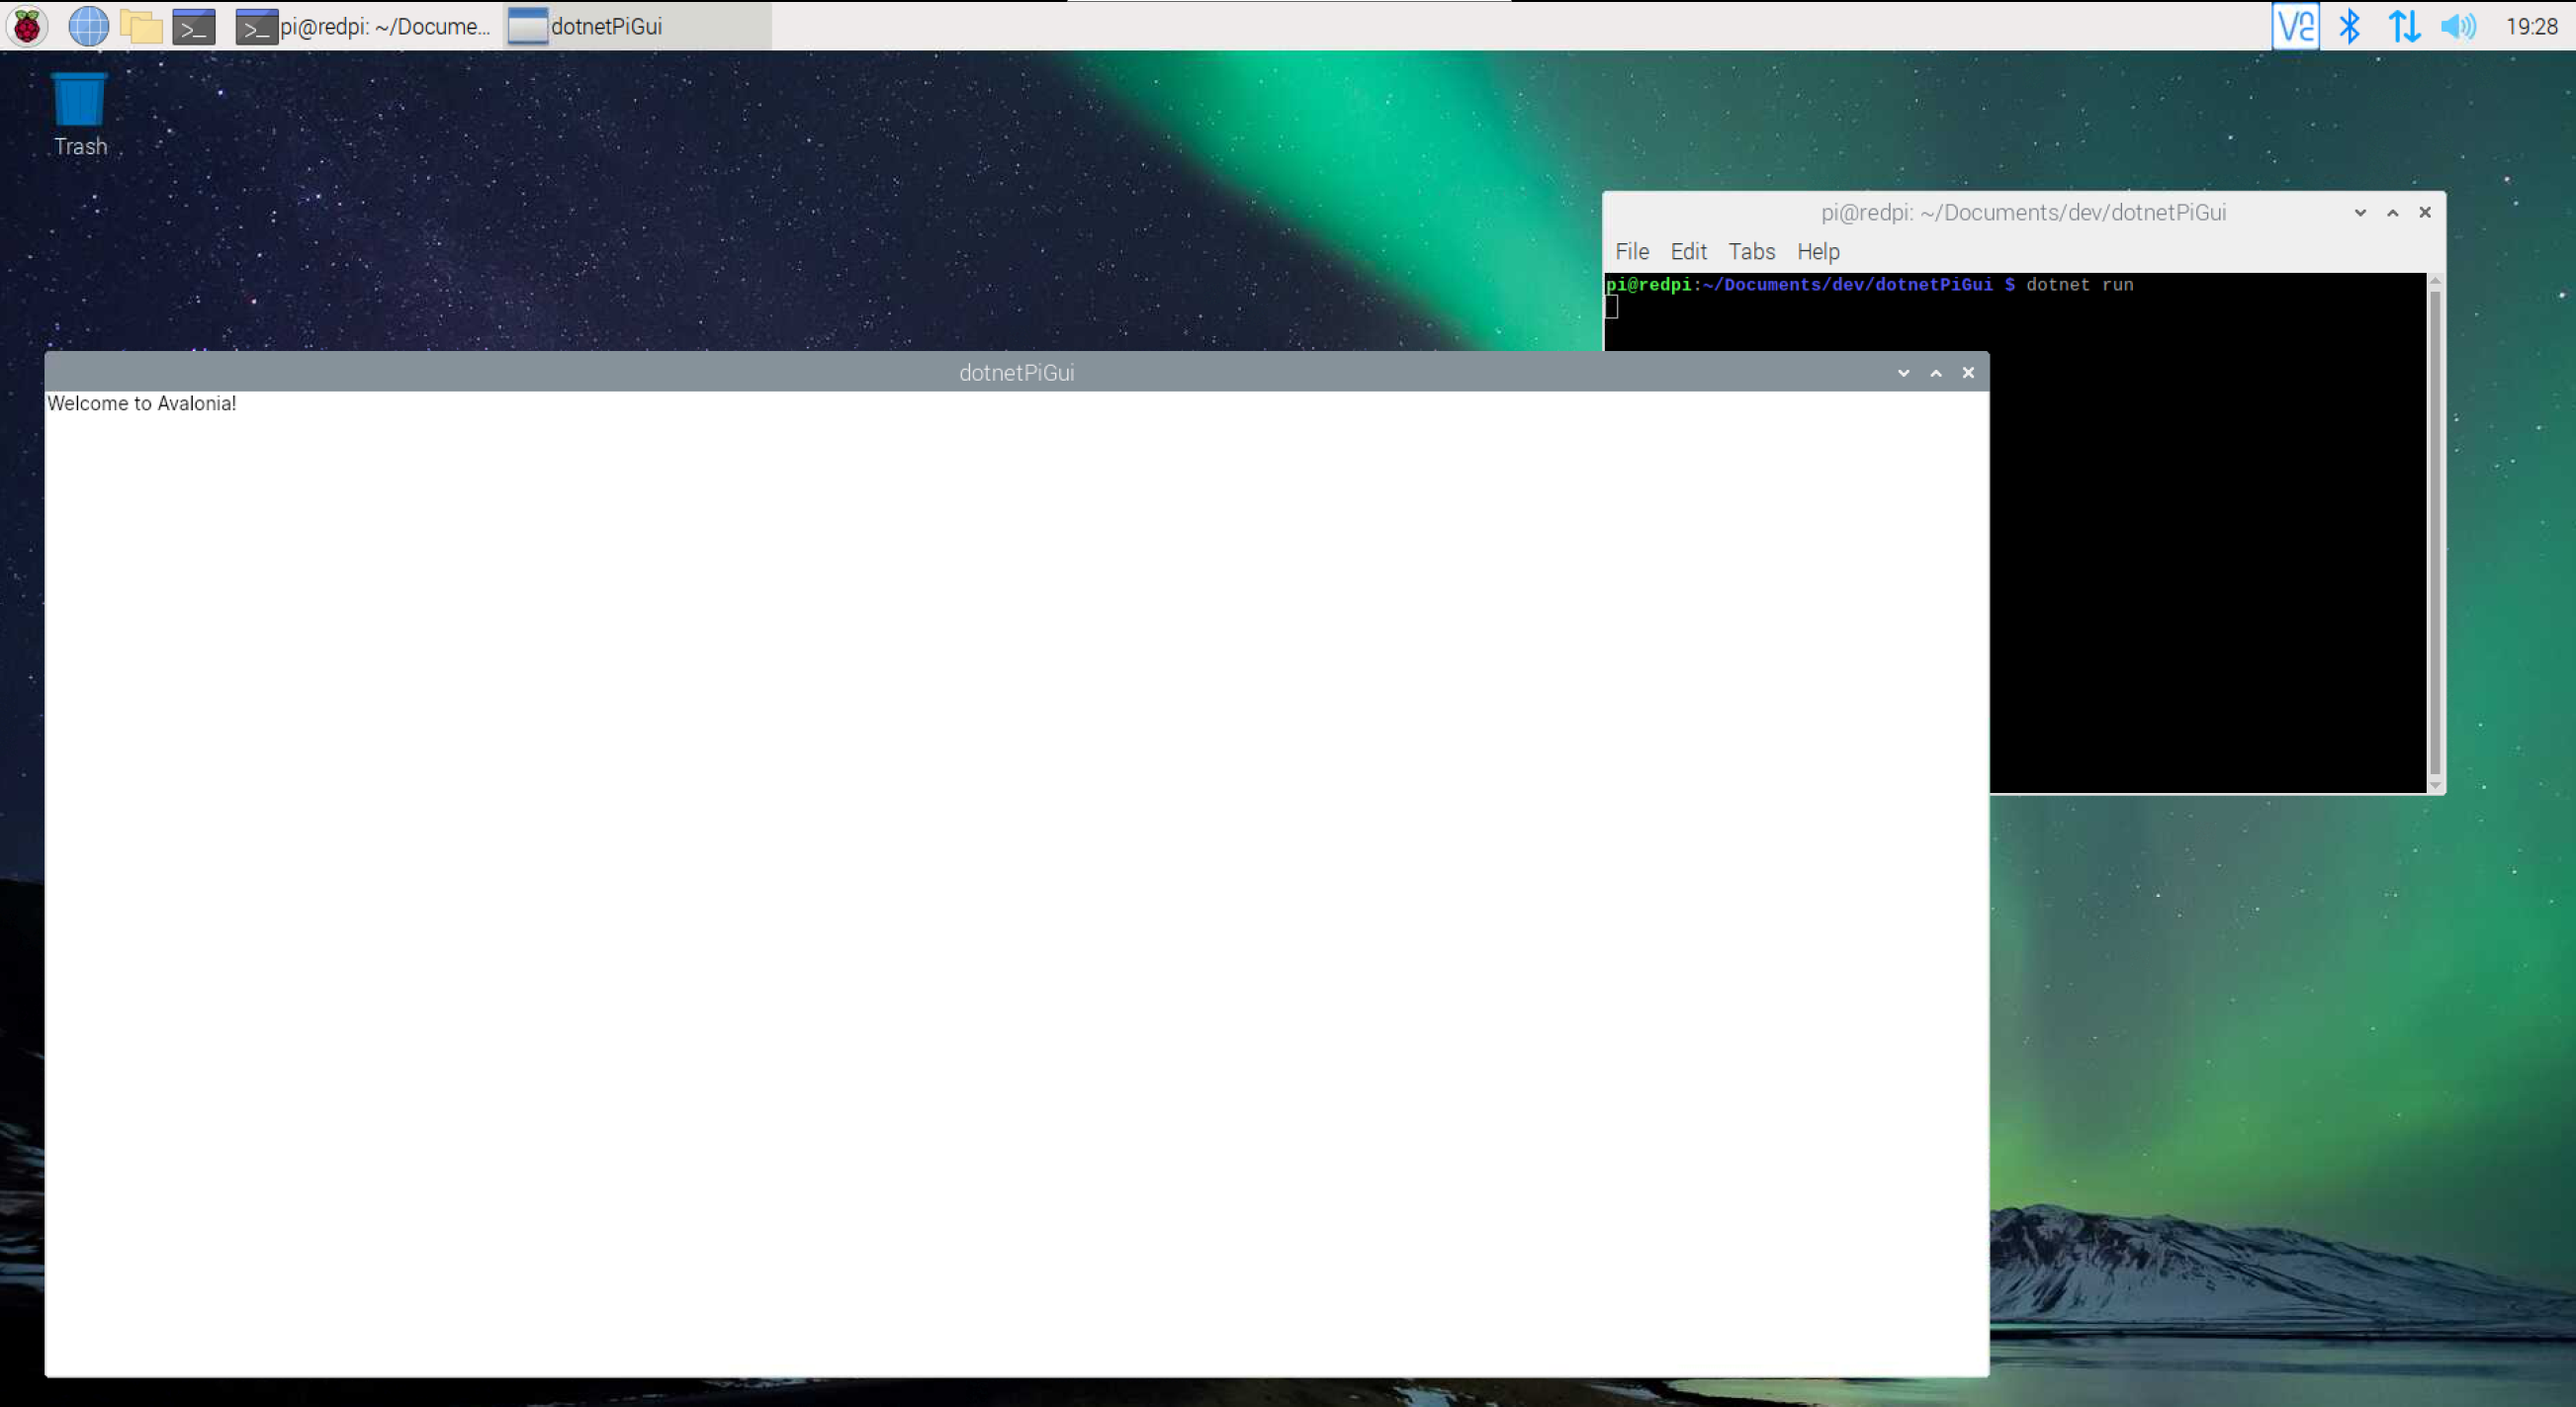
Close the new application by clicking on the close (X) button in the top right on the window.
Change the window
From the Terminal open Visual Studio Code. Note the 'dot' after the code, this tells Visual Studio Code to open the current folder.
code .
In Visual Studio Code open the MainWindow.axaml file. This file defines how the window is displayed. It should look like this.
<Window xmlns="https://github.com/avaloniaui"
        xmlns:x="http://schemas.microsoft.com/winfx/2006/xaml"
        xmlns:d="http://schemas.microsoft.com/expression/blend/2008"
        xmlns:mc="http://schemas.openxmlformats.org/markup-compatibility/2006"
        mc:Ignorable="d" d:DesignWidth="800" d:DesignHeight="450"
        x:Class="dotnetPiGui.MainWindow"
        Title="dotnetPiGui">
    Welcome to Avalonia!
</Window>
The Window defines, as you might expect, a window to display on the screen.
The first lines have namespace import attributes for the file, these xmlns (xml namespace) attributes enable components in the imported namespaces to be accessed in this Window.
The x:Class attribute defines the code class that controls this Window, this will be important in the next step.
The Title attribute defines the title displayed at the top of the window.
The contents of the Window are currently the text Welcome to Avalonia!
To change the title and the background of the window, and remove the contents, edit the MainWindow.axaml file as follows
<Window xmlns="https://github.com/avaloniaui"
        xmlns:x="http://schemas.microsoft.com/winfx/2006/xaml"
        xmlns:d="http://schemas.microsoft.com/expression/blend/2008"
        xmlns:mc="http://schemas.openxmlformats.org/markup-compatibility/2006"
        mc:Ignorable="d" d:DesignWidth="800" d:DesignHeight="450"
        x:Class="dotnetPiGui.MainWindow"
        Title="Pi GUI"
        Background="#011627">

</Window>
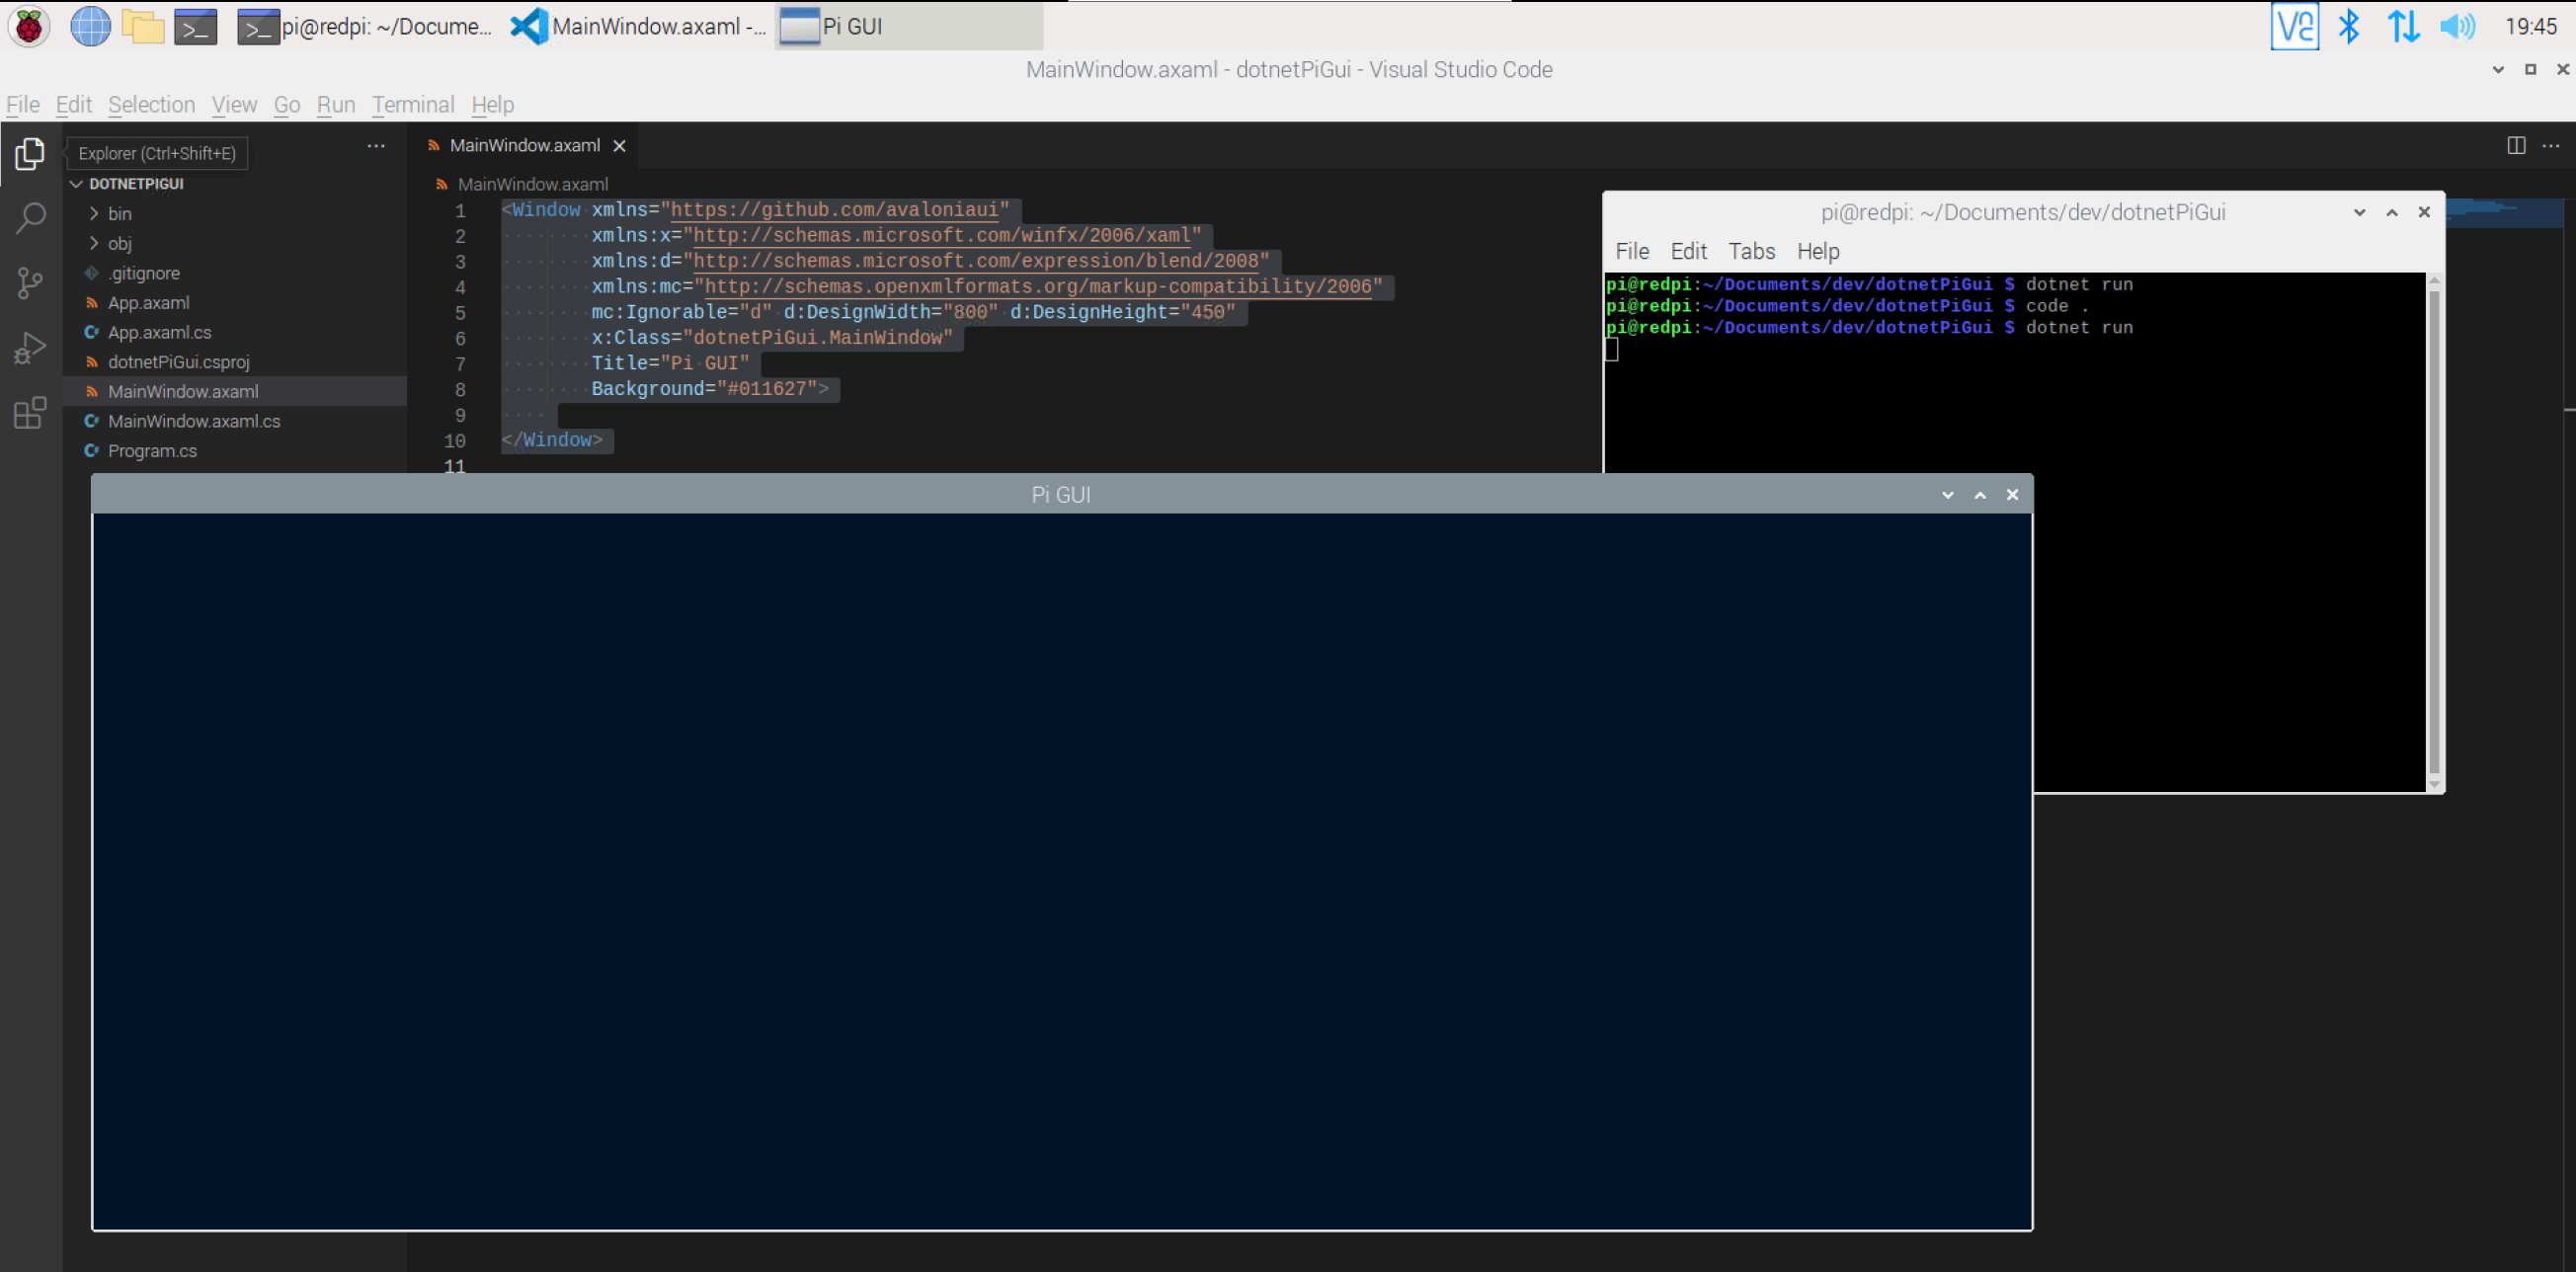
This has removed the content, set the title, and changed the background colour to a dark blue. The hex colour 011627 is used here.
Save the the MainWindow.axaml file.
Compile and run the new application from the Terminal window with dotnet run
dotnet run
The project will be built and then run, showing the window with the colour and title as set in the previous step
Close the new application by clicking on the close (X) button in the top right on the window.
Display the time
In this step the time will be displayed in the window. This uses some of the same code that is explained in the Note on how to display a clock in the Terminal.
In Visual Studio Code open the MainWindow.axaml file.
In the Window element contents add a TextBlock
<TextBlock Margin="20" FontSize="38" FontFamily="Consolas" Foreground="Green" Text="{Binding Time}" />
A TextBlock element displays (as the name suggests) a block of text in the window.
Each attribute in the TextBlock defines some aspect of how it is displayed. For a full list of attributes see the Avalonia documentation.
The Margin defines the space provided around all sides of the control.
The FontSize is the size of the font used to render the text.
The FontFamily defines the group (or family) of font to use to render the text.
The Foreground is the colour used to draw the text.
The Text defines the text to display. While it is possible to hardcode a text string in here, the Binding instructs the code to use the value of a variable for the text displayed, more on this later.
The full MainWindow.axaml file should look like this
<Window xmlns="https://github.com/avaloniaui"
        xmlns:x="http://schemas.microsoft.com/winfx/2006/xaml"
        xmlns:d="http://schemas.microsoft.com/expression/blend/2008"
        xmlns:mc="http://schemas.openxmlformats.org/markup-compatibility/2006"
        mc:Ignorable="d" d:DesignWidth="800" d:DesignHeight="450"
        x:Class="dotnetPiGui.MainWindow"
        Title="Pi GUI"
        Background="#011627">
    <TextBlock Margin="20" FontSize="38" FontFamily="Consolas" Foreground="Green" Text="{Binding Time}" />
</Window>
Save the the MainWindow.axaml file.
In Visual Studio Code open the MainWindow.axaml.cs file.
Add a property for the Time that was used in the binding in the previous step.
using Avalonia.Controls;
using System;

namespace dotnetPiGui
{
    public partial class MainWindow : Window
    {
        DateTime time;

        public string Time
        {
                get { return time.ToString("dd MMM yy HH:mm"); }
                set {  }
        }

        public MainWindow()
        {
            time = DateTime.Now;
            InitializeComponent();
            DataContext = this;
        }
    }
}
Save the the MainWindow.axaml.cs file.
In the updated code a DateTime variable named time is created in the class to store the time.
Then a property is created named Time (uppercase T) that can return the time as a string.
NOTE: that the using System; line has been added to the top of the file, this allows the code classes in the System namespace to be referenced. DateTime is in the System namespace.
In the MainWindow constructor method, before InitializeComponent method is called, the time variable is set to the current time.
After the InitializeComponent method is called the DataContext is set to this.
The DataContext is used to inform the binding system which object has the properties being bound in the user interface. In the previous step the Text attribute was set to {Binding Time}, this means the Time property of the currently bound object is used to display the text in the TextBlock. The this keyword is used to indicate the current instance of the class (or the object) should be referenced.
All of this means that the Time property will be used to retrieve the text to display in the TextBlock.
Compile and run the new application from the Terminal window with dotnet run
dotnet run
The project will be built and then run, showing the window with the time shown, however the time will not update once the application has started.
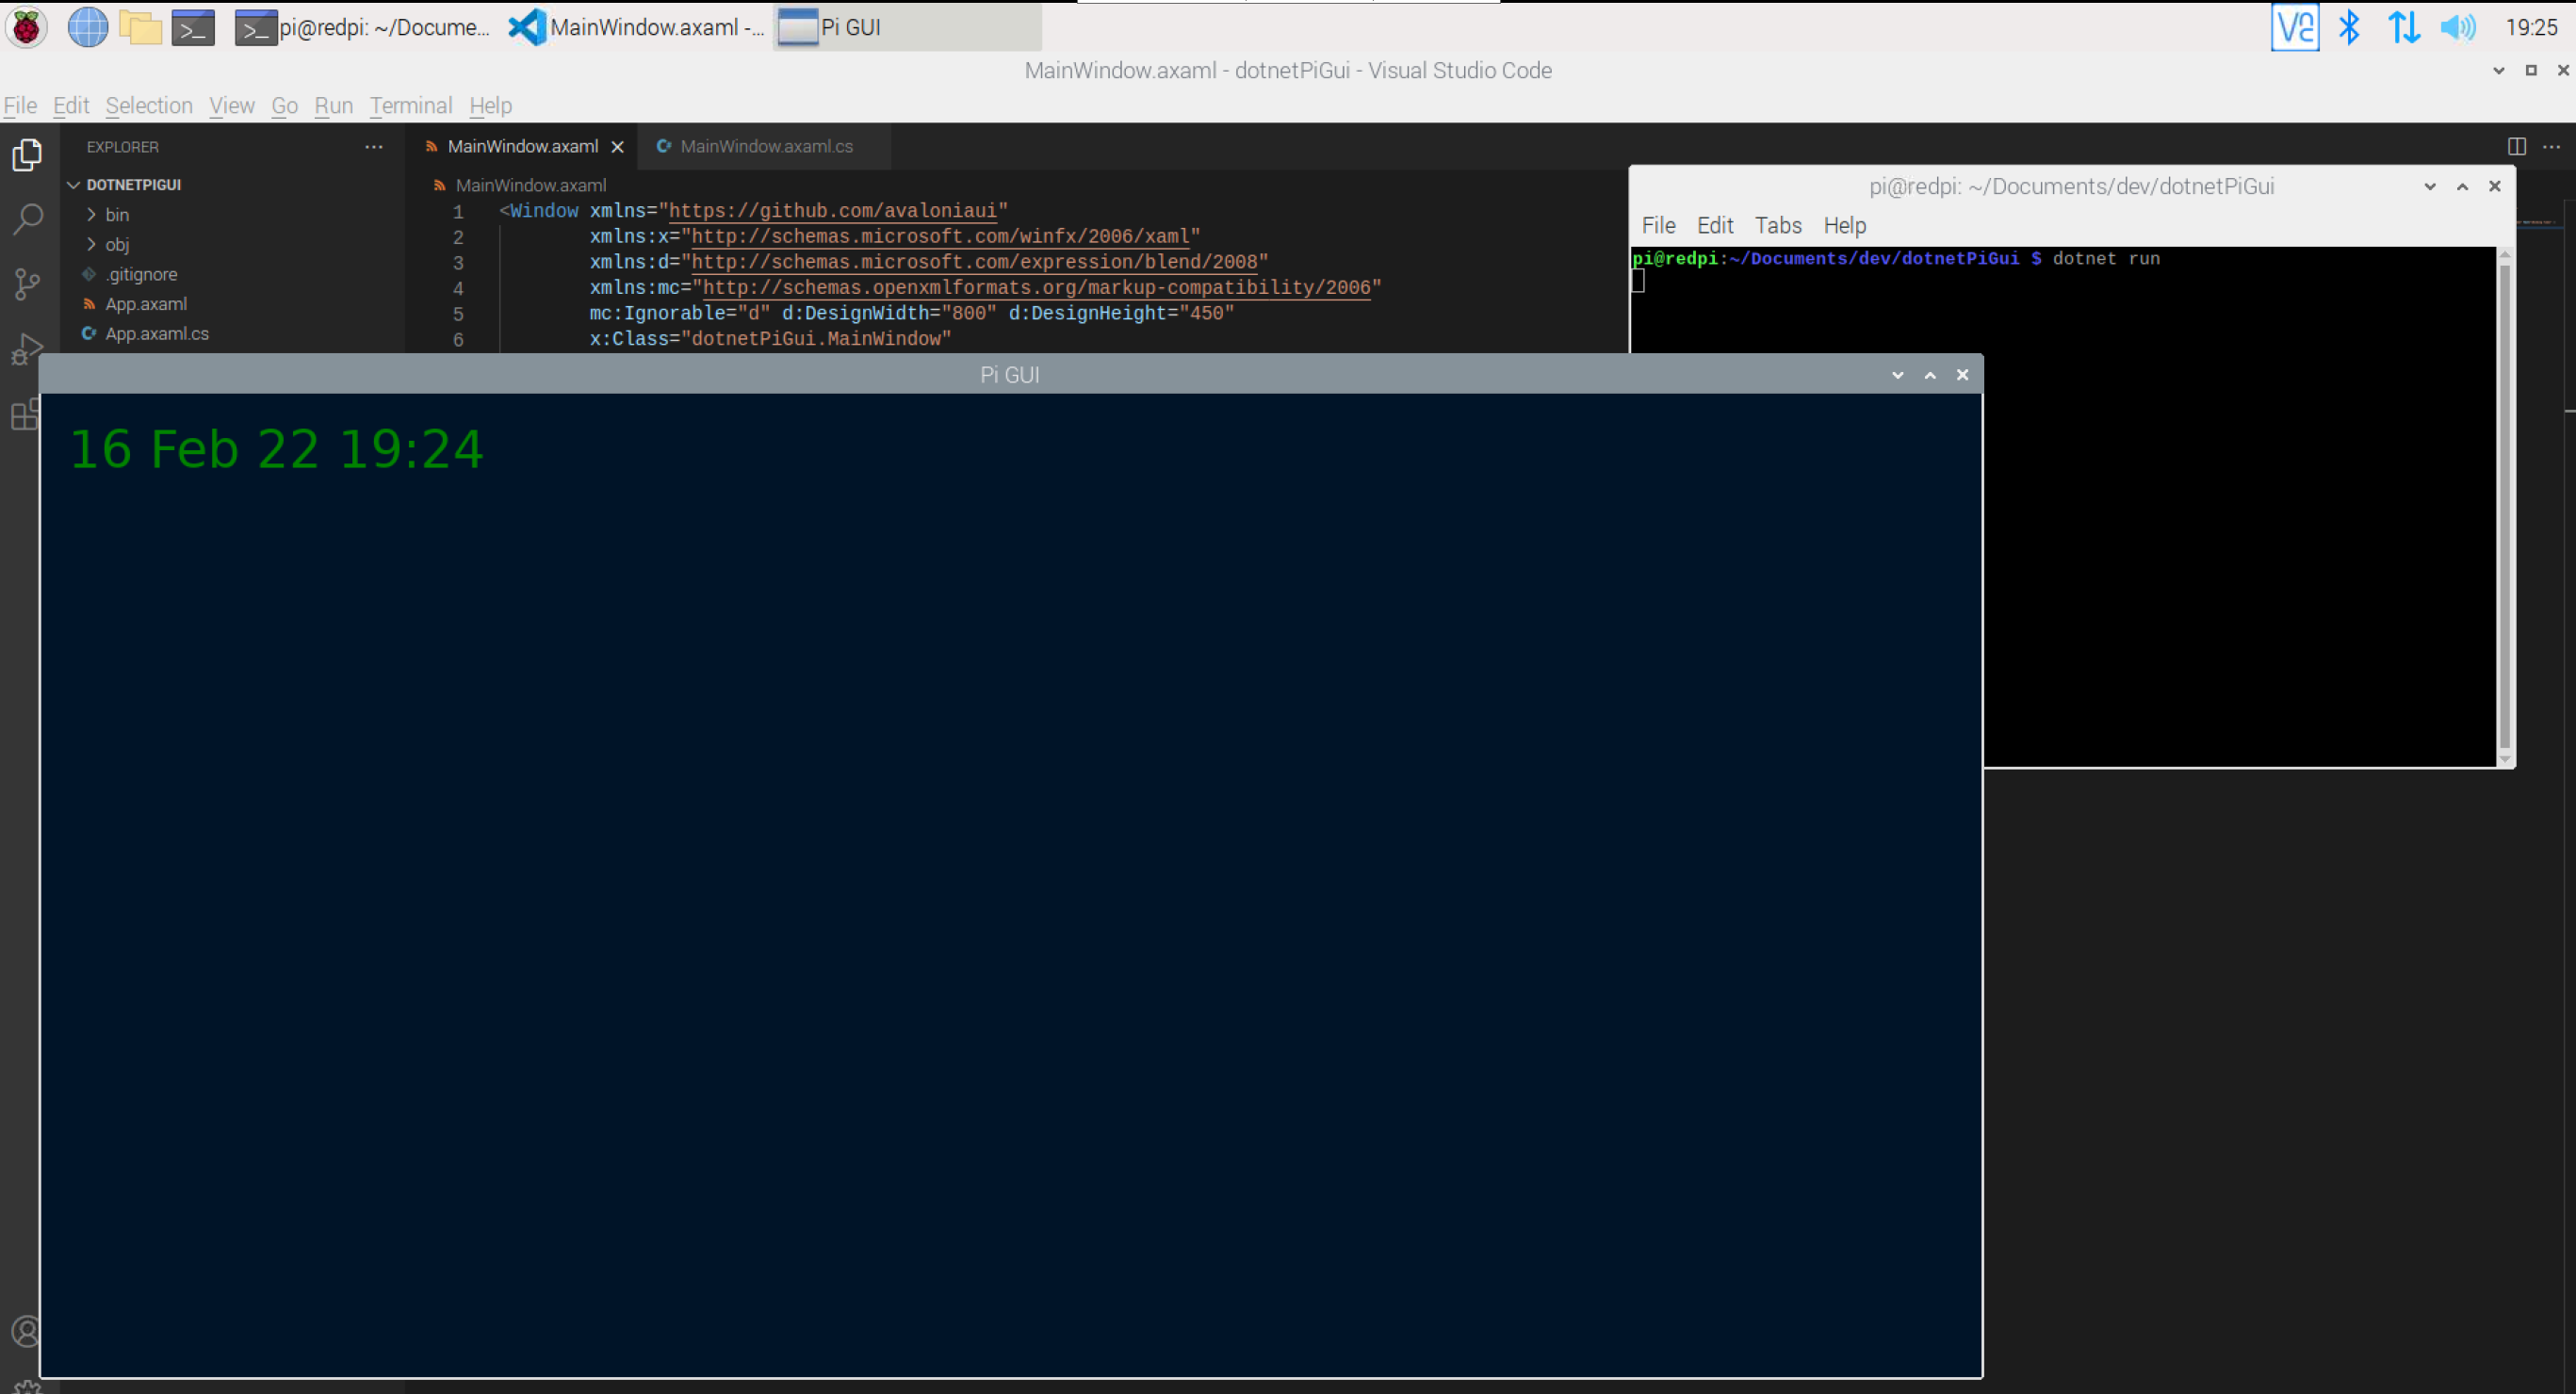
Close the new application by clicking on the close (X) button in the top right on the window.
Update the time
To make this useful the time needs to update and display the correct time.
In Visual Studio Code open the MainWindow.axaml.cs file.
At the top of the file add more namespaces to allow the code to use the classes in those namespaces
using System.ComponentModel;
using System.Runtime.CompilerServices;
using System.Threading;
using System.Threading.Tasks;
Add the interface INotifyPropertyChanged to the MainWindow class declaration. This interface can be used by the binding to discover when a property that is bound in the user interface has changed.
public partial class MainWindow : Window, INotifyPropertyChanged
In the MainWindow class add an event of type PropertyChangedEvenHandler named PropertyChanged, the ? in the declaration means the event can be null or not set. The new keyword is used to replace a PropertyChanged event that is already supported in the Window class.
Add a method named NotifyPropertyChanged to the MainWindows class. This method with use the [CallerMemberName] attribute, this attribute informs the compiler that the parameter propertyName should be set to the name of the method or property that called the method.
The code in the NotifyPropertyChanged method calls (or invokes) any handlers that have been added to listen to the PropertyChanged, passing the name of the property in the propertyName variable.
        public new event PropertyChangedEventHandler? PropertyChanged;
        private void NotifyPropertyChanged([CallerMemberName] String propertyName = "")
    {
        PropertyChanged?.Invoke(this, new PropertyChangedEventArgs(propertyName));
    }
Modify the Time property to call the NotifyPropertyChanged method when ever it is set.
        public string Time
    {
        get { return time.ToString("dd MMM yy HH:mm"); }
        set { NotifyPropertyChanged(); }
    }
Create a new method named
UpdateGUI that is called from a new Thread.
The UpdateGui method runs forever in a loop, updating the time variable, and setting the Time property, forcing the PropertyChanged event to be raised.
        public MainWindow()
        {
                time = DateTime.Now;
                InitializeComponent();
                DataContext = this;
                var t = new Thread(new ThreadStart(async () => await UpdateGUI()));
                t.Start();
        }

        private async Task UpdateGUI()
    {
            while (true)
        {
            time = DateTime.Now;
            Time = string.Empty;
            await Task.Delay(1000);
        }
    }
The complete code file should now look like this.
using Avalonia.Controls;
using System;
using System.ComponentModel;
using System.Runtime.CompilerServices;
using System.Threading;
using System.Threading.Tasks;

namespace dotnetPiGui
{
    public partial class MainWindow : Window, INotifyPropertyChanged
    {
        public new event PropertyChangedEventHandler? PropertyChanged;
        private void NotifyPropertyChanged([CallerMemberName] String propertyName = "")
    {
        PropertyChanged?.Invoke(this, new PropertyChangedEventArgs(propertyName));
    }

        DateTime time;
    public string Time
    {
        get { return time.ToString("dd MMM yy HH:mm"); }
        set { NotifyPropertyChanged(); }
    }

        public MainWindow()
        {
                time = DateTime.Now;
                InitializeComponent();
                DataContext = this;
                var t = new Thread(new ThreadStart(async () => await UpdateGUI()));
                t.Start();
        }

        private async Task UpdateGUI()
    {
            while (true)
        {
            time = DateTime.Now;
            Time = string.Empty;
            await Task.Delay(1000);
        }
    }
    }
}
Compile and run the new application from the Terminal window with dotnet run
dotnet run
The project will be built and then run, showing the window with the time shown, leave the application running for a few minutes and the time should be updating.
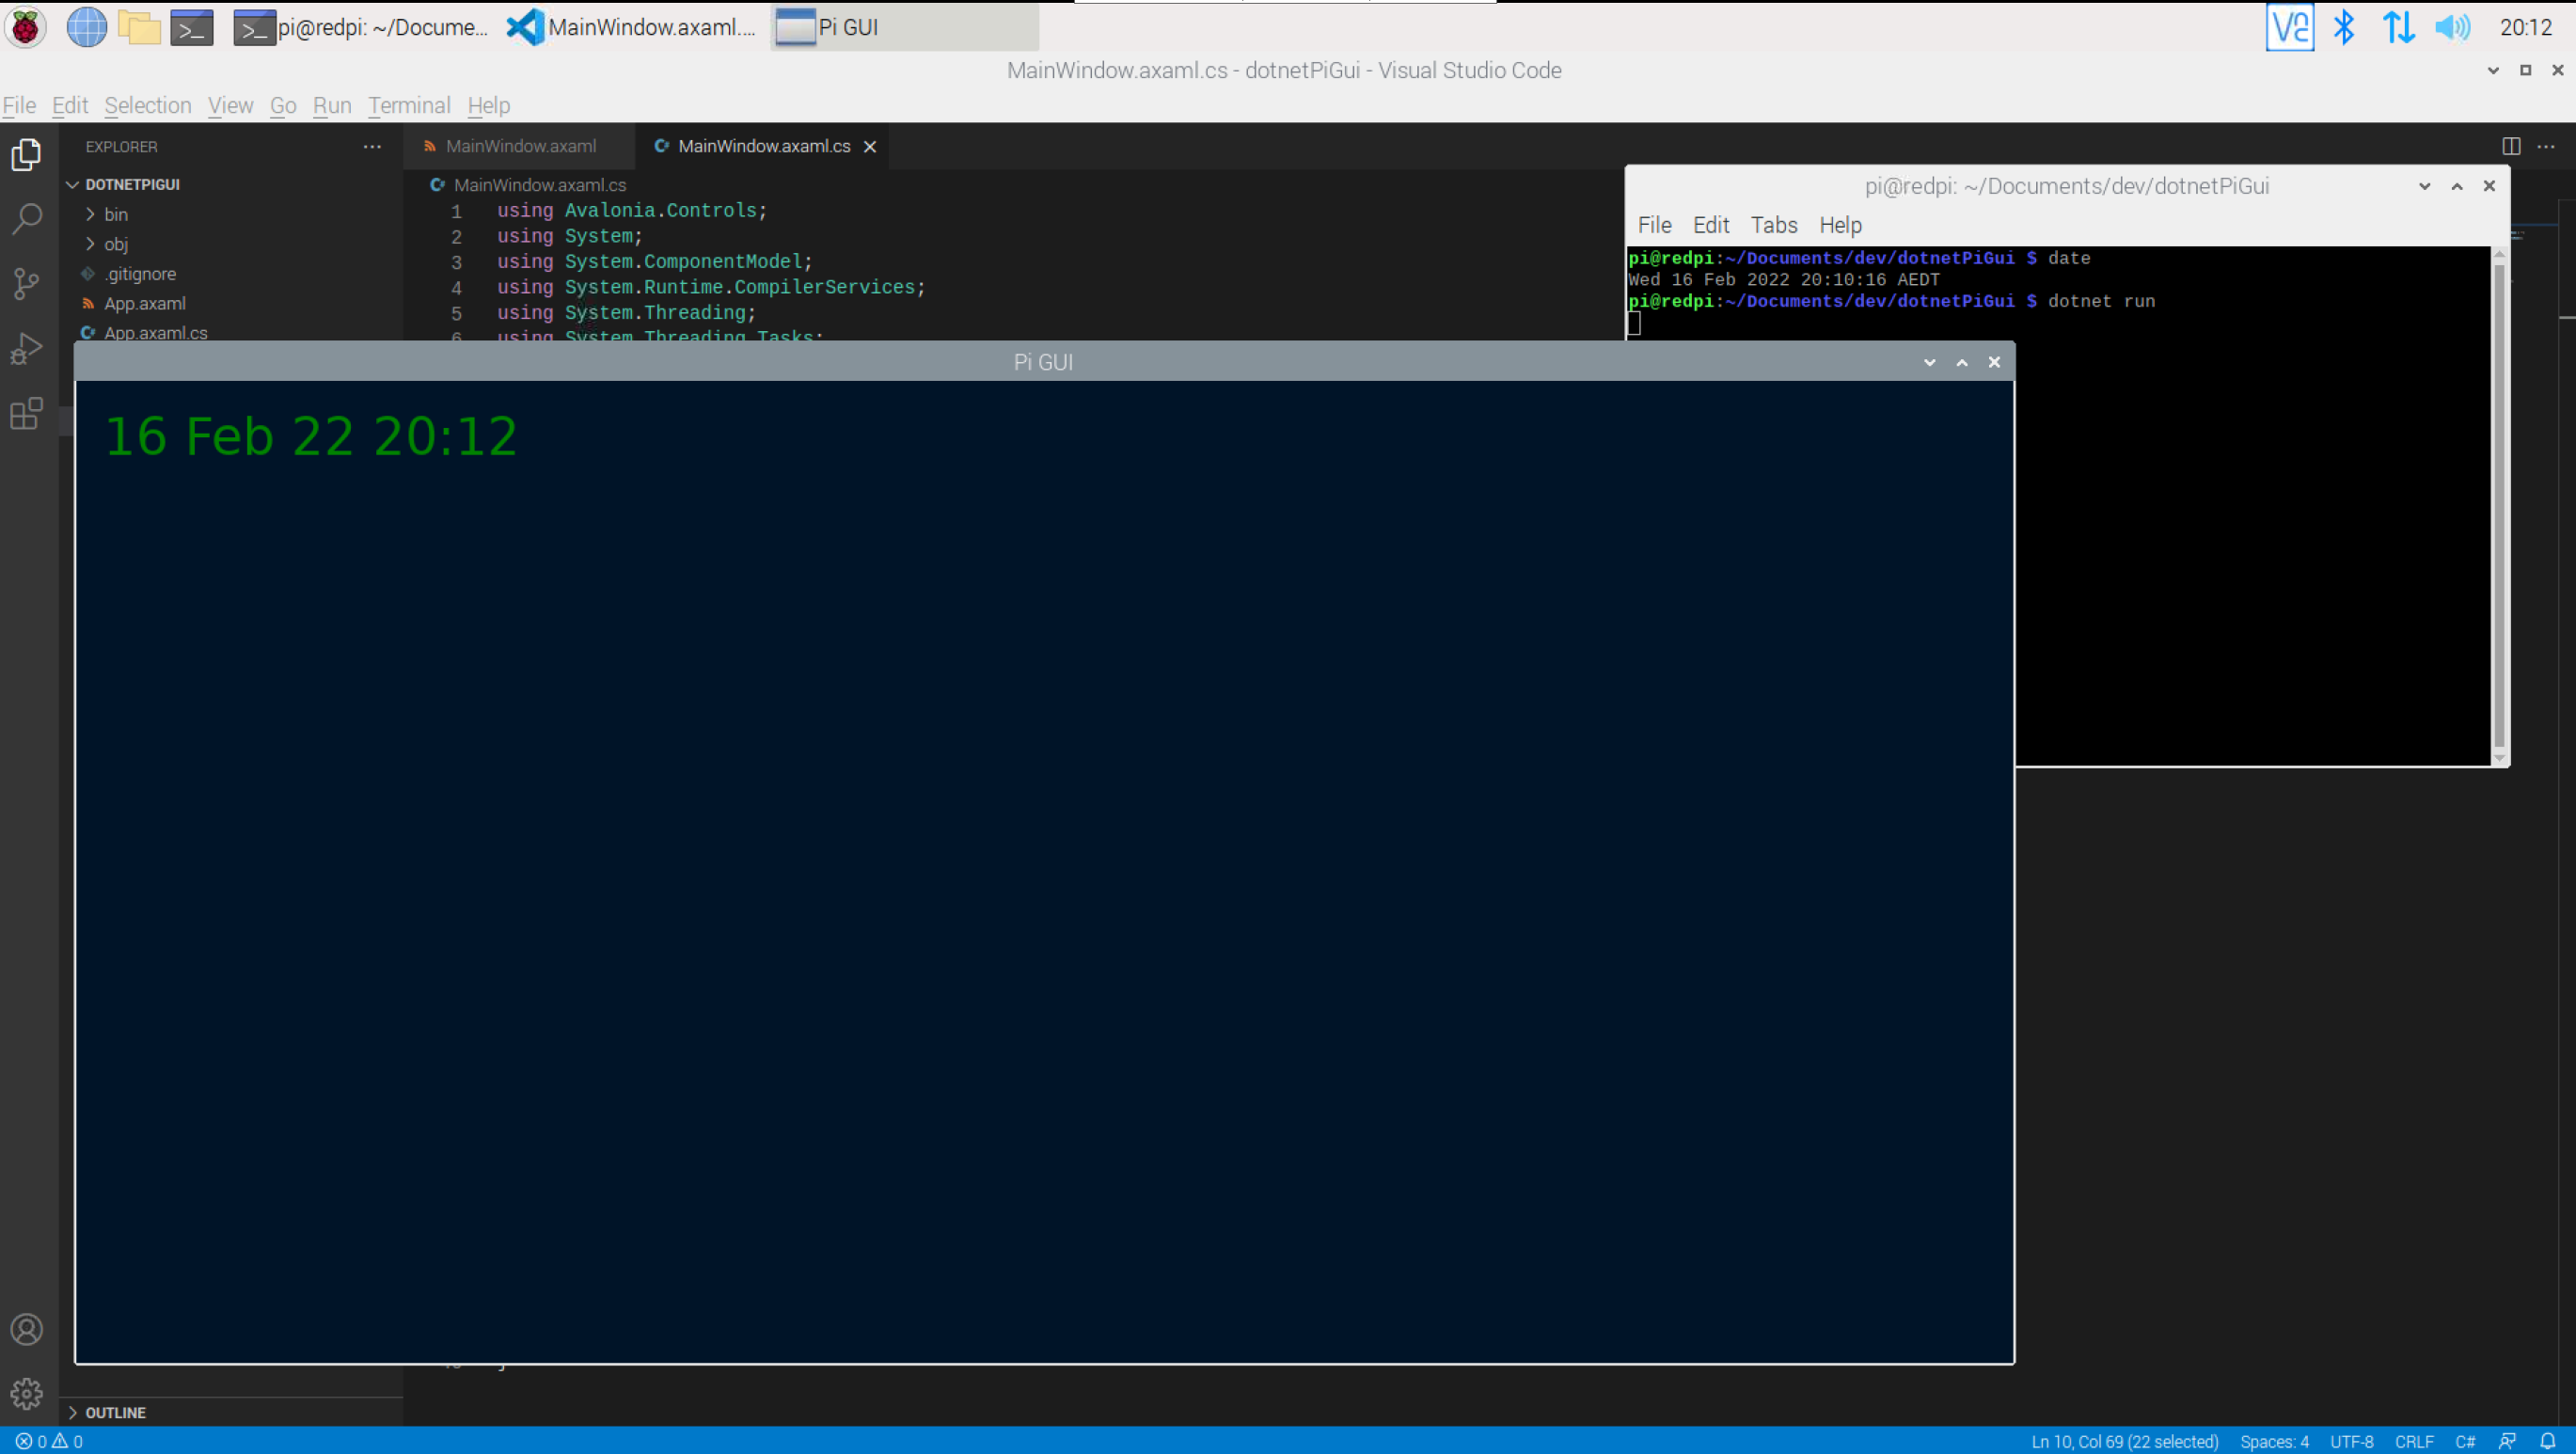
Close the new application by clicking on the close (X) button in the top right on the window.
Display the weather
To display the weather the code that from the Note on how to display the weather in a Terminal will be used. To understand how to get a key for the OpenWeather service please review the Note.
In Visual Studio Code open the MainWindow.axaml file.
In the Window element contents add another TextBlock below the TextBox that displays the time.
<TextBlock Margin="20" FontSize="38" FontFamily="Consolas" Foreground="Green" Text="{Binding Weather}" />
Then place both the TextBlock elements inside a StackPanel element.
The StackPanel element, stacks the contained items. The default is a vertical stack, so the items appear in a list above one another. It is possible to change a StackPanel so it stacks horizontally, using the Orientation attribute. Further discussion of layout will continue later in this Note.
<StackPanel>
        <TextBlock Margin="20" FontSize="38" FontFamily="Consolas" Foreground="Green" Text="{Binding Time}" />
        <TextBlock Margin="20" FontSize="38" FontFamily="Consolas" Foreground="Green" Text="{Binding Weather}" />
</StackPanel>
The contents of the MainWindow.axaml file should now look like this
<Window xmlns="https://github.com/avaloniaui"
        xmlns:x="http://schemas.microsoft.com/winfx/2006/xaml"
        xmlns:d="http://schemas.microsoft.com/expression/blend/2008"
        xmlns:mc="http://schemas.openxmlformats.org/markup-compatibility/2006"
        mc:Ignorable="d" d:DesignWidth="800" d:DesignHeight="450"
        x:Class="dotnetPiGui.MainWindow"
        Title="Pi GUI"
        Background="#011627">
    <StackPanel>
        <TextBlock Margin="20" FontSize="38" FontFamily="Consolas" Foreground="Green" Text="{Binding Time}" />
        <TextBlock Margin="20" FontSize="38" FontFamily="Consolas" Foreground="Green" Text="{Binding Weather}" />
    </StackPanel>
</Window>
Save the MainWindow.axaml file.
In Visual Studio Code open the dotnetPiGui.csproj file. This file was generated by the call to dotnet new at the start of this Note.
Add package references the OpenWeather package. This imports the Weather.NET library to the code, enabling the OpenWeather methods to be called.
<PackageReference Include="Weather.NET" Version="1.1.0" />
The dotnetPiGui.csproj file should look like this.
<Project Sdk="Microsoft.NET.Sdk">
        <PropertyGroup>
                <OutputType>WinExe</OutputType>
                <TargetFramework>net6.0</TargetFramework>
                <Nullable>enable</Nullable>
            <!--Avalonia doesen't support TrimMode=link currently,but we are working on that https://github.com/AvaloniaUI/Avalonia/issues/6892 -->
                <TrimMode>copyused</TrimMode>
            <BuiltInComInteropSupport>true</BuiltInComInteropSupport>
        </PropertyGroup>
        <ItemGroup>
                <None Remove=".gitignore" />
        </ItemGroup>
        <ItemGroup>
                <!--This helps with theme dll-s trimming.
                If you will publish your application in self-contained mode with p:PublishTrimmed=true and it will use Fluent theme Default theme will be trimmed from the output and vice versa.
                https://github.com/AvaloniaUI/Avalonia/issues/5593 -->
                <TrimmableAssembly Include="Avalonia.Themes.Fluent" />
                <TrimmableAssembly Include="Avalonia.Themes.Default" />
        </ItemGroup>
        <ItemGroup>
                <PackageReference Include="Avalonia" Version="0.10.12" />
                <PackageReference Include="Avalonia.Desktop" Version="0.10.12" />
                <!--Condition below is needed to remove Avalonia.Diagnostics package from build output in Release configuration.-->
                <PackageReference Condition="'$(Configuration)' == 'Debug'"
                  Include="Avalonia.Diagnostics" Version="0.10.12" />
                <PackageReference Include="XamlNameReferenceGenerator" Version="1.3.4" />
                <PackageReference Include="Weather.NET" Version="1.1.0" />
        </ItemGroup>
</Project>
Save the dotnetPiGui.csproj file.
In Visual Studio Code open the MainWindow.axaml.cs file.
At the top of the file add three new using statements to import the namespaces for the OpenWeather API.
using Weather.NET;
using Weather.NET.Enums;
using Weather.NET.Models.WeatherModel;
Inside the MainWindow class add local member variables for the WeatherClient and WeatherModel.
Create a string for the city you wish to retrieve the weather for.
NOTE: replace the YOUR KEY GOES HERE with the key from the OpenWeather Service, see the Note on how to display the weather for information on how to get a key for the OpenWeather Service.
WeatherClient client = new WeatherClient("YOUR KEY GOES HERE");
WeatherModel? currentWeather;
const string weatherCity = "Sydney, NSW";
Below the Time property, create a property for the Weather, this property provides the weather text to the TextBlock defined in the previous step.
NOTE: the character \u2103 is the Unicode character for degrees Celsius, ℃. The Unicode character for Fahrenheit is \u2109, ℉.
public string  Weather
{
  get
  {
    if (currentWeather is not null)
    {
      var weather = $"{currentWeather.CityName}, {currentWeather.Weather[0].Title},   {currentWeather.Main.Temperature}\u2103";
      return weather;
    }
    return string.Empty;
  }
  set { NotifyPropertyChanged(); }
}
In the UpdateGui method, add code to retrieve the weather before the loop.
if (currentWeather == null)
{
        currentWeather = client.GetCurrentWeather(cityName: weatherCity, measurement: Measurement.Metric);
        Weather = string.Empty;
}
The code in the MainWindow.axaml.cs file should look like this
using Avalonia.Controls;
using System;
using System.ComponentModel;
using System.Runtime.CompilerServices;
using System.Threading;
using System.Threading.Tasks;
using Weather.NET;
using Weather.NET.Enums;
using Weather.NET.Models.WeatherModel;

namespace dotnetPiGui
{
    public partial class MainWindow : Window, INotifyPropertyChanged
    {
        WeatherClient client = new WeatherClient("YOUR KEY GOES HERE");
        WeatherModel? currentWeather;
        const string weatherCity = "Sydney, NSW";

        public new event PropertyChangedEventHandler? PropertyChanged;
        private void NotifyPropertyChanged([CallerMemberName] String propertyName = "")
        {
                PropertyChanged?.Invoke(this, new PropertyChangedEventArgs(propertyName));
        }

        DateTime time;
        public string Time
        {
                get { return time.ToString("dd MMM yy HH:mm"); }
                set { NotifyPropertyChanged(); }
        }

        public string  Weather
        {
                get
                {
                        if (currentWeather is not null)
                        {
                                var weather = $"{currentWeather.CityName}, {currentWeather.Weather[0].Title}, {currentWeather.Main.Temperature}\u2103";
                                return weather;
                        }
                        return string.Empty;
                }
                set { NotifyPropertyChanged(); }
        }

        public MainWindow()
        {
            time = DateTime.Now;
            InitializeComponent();
            DataContext = this;
            var t = new Thread(new ThreadStart(async () => await UpdateGUI()));
            t.Start();
        }

        private async Task UpdateGUI()
        {
                if (currentWeather == null)
                {
                        currentWeather = client.GetCurrentWeather(cityName: weatherCity, measurement: Measurement.Metric);
                        Weather = string.Empty;
                }

                while (true)
                {
                        time = DateTime.Now;
                        Time = string.Empty;
                        await Task.Delay(1000);
                }
        }
    }
}
Save the MainWindow.axaml.cs file.
Compile and run the new application from the Terminal window with dotnet run
dotnet run
The project will be built and then run, showing the window with the time and weather.
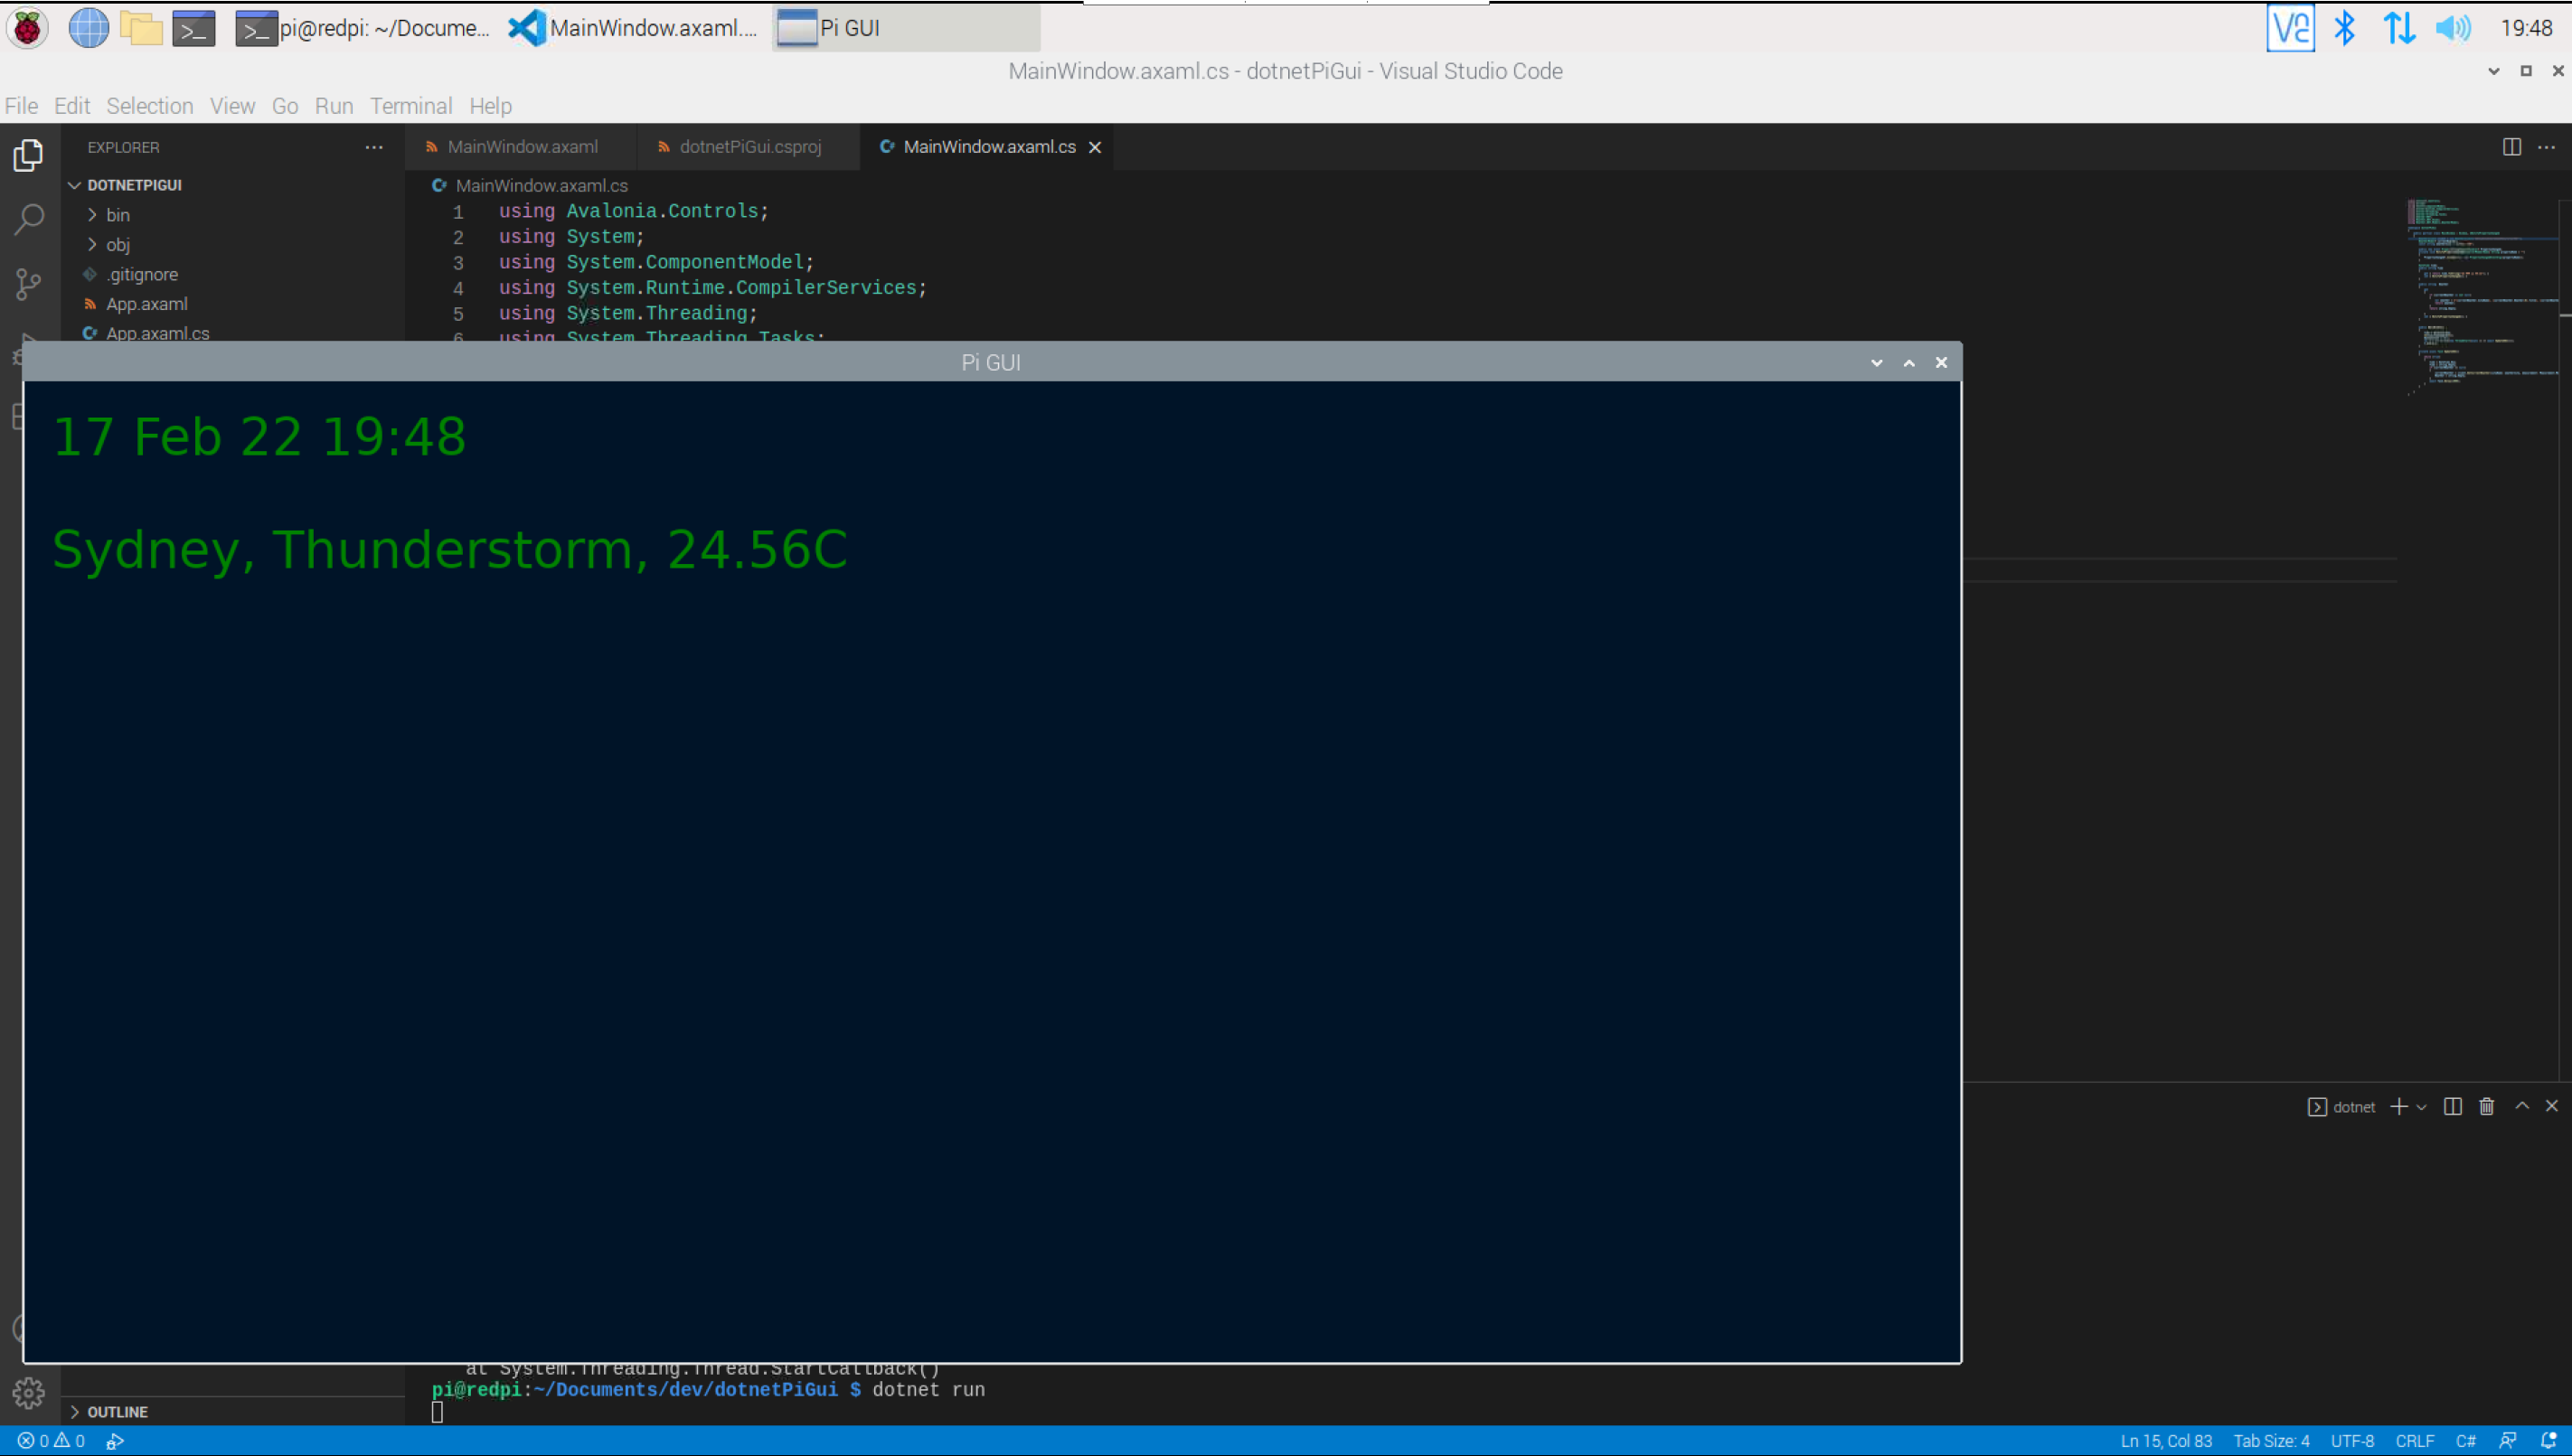
Close the new application by clicking on the close (X) button in the top right on the window.
Update the weather
In the Note on how to display the weather in the Terminal, the weather was updated at a different cadence to the time. In this step the same idea will be used.
In Visual Studio Code open the MainWindow.axaml.cs file.
In the MainWindow class add the following variables to set the period for checking the weather, and the current count towards that period.
const int checkWeatherPeriod = 60;
int currentPeriodSeconds = 0;
In the while loop of the UpdateGUI method add the following code to update the weather when the counter gets to the value of the period. The counter is then reset to 0 and the count starts again.
if (currentPeriodSeconds > checkWeatherPeriod)
{
        currentWeather = client.GetCurrentWeather(cityName: weatherCity, measurement: Measurement.Metric);
        currentPeriodSeconds = 0;
}
currentPeriodSeconds++;
Save the MainWindow.axaml.cs file.
Compile and run the new application from the Terminal window with dotnet run
dotnet run
The project will be built and then run, showing the window with the time and weather. If you wait longer enough, and the weather has changed, it will be reflected in the output.
NOTE: in this code the checkWeatherPeriod is set to 60, approximately every 60 seconds the weather will be updated. It is not exactly 60 seconds because the code takes some amount of time to run, and the Task.Delay(1000) is not guaranteed to wait exactly 1000 milliseconds.
IF this was an application for the real world the period would likely be set to longer, if the weather is only updated once every 5 minutes, that is probably enough, and in some circumstances, every 30 minutes might be fine too.
Close the new application by clicking on the close (X) button in the top right on the window.
Adjust the layout
In the previous steps the time and weather have been stacked vertically. However it might be good to place the TextBlocks in different locations.
In this step the code for the user interface will be adjusted to change the layout of the window contents.
In Visual Studio Code open the MainWindow.axaml file.
Edit the window contents to remove the StackPanel and use a Grid instead. The Grid has three RowDefinitions, the first and last rows are defined as having a Height of 50, the second row has a Height of *, the * character is used to define a row should fill the remaining space.
The TextBlock elements contain Grid.Row attributes, these Grid.Row attributes define in which row to display the TextBlock element. Also notice the weather and time have been swapped around, so the weather is displayed in the first row (0 is the first, as the list is zero indexed), and the time is displayed in the third row (1 in a zero indexed collection).
<Window xmlns="https://github.com/avaloniaui"
        xmlns:x="http://schemas.microsoft.com/winfx/2006/xaml"
        xmlns:d="http://schemas.microsoft.com/expression/blend/2008"
        xmlns:mc="http://schemas.openxmlformats.org/markup-compatibility/2006"
        mc:Ignorable="d" d:DesignWidth="800" d:DesignHeight="450"
        x:Class="dotnetPiGui.MainWindow"
        Title="Pi GUI"
        Background="#011627">
    <Grid>
        <Grid.RowDefinitions>
            <RowDefinition Height = "50" />
            <RowDefinition Height = "*" />
            <RowDefinition Height = "50" />
        </Grid.RowDefinitions>
        <TextBlock Grid.Row="0" Margin="20" FontSize="38" FontFamily="Consolas" Foreground="Green" Text="{Binding Weather}" />
        <TextBlock Grid.Row="2" Margin="20" FontSize="38" FontFamily="Consolas" Foreground="Green" Text="{Binding Time}" />
    </Grid>
</Window>
Save the MainWindow.axaml file.
Compile and run the new application from the Terminal window with dotnet run
dotnet run
The project will be built and then run, showing the window with the the new layout.
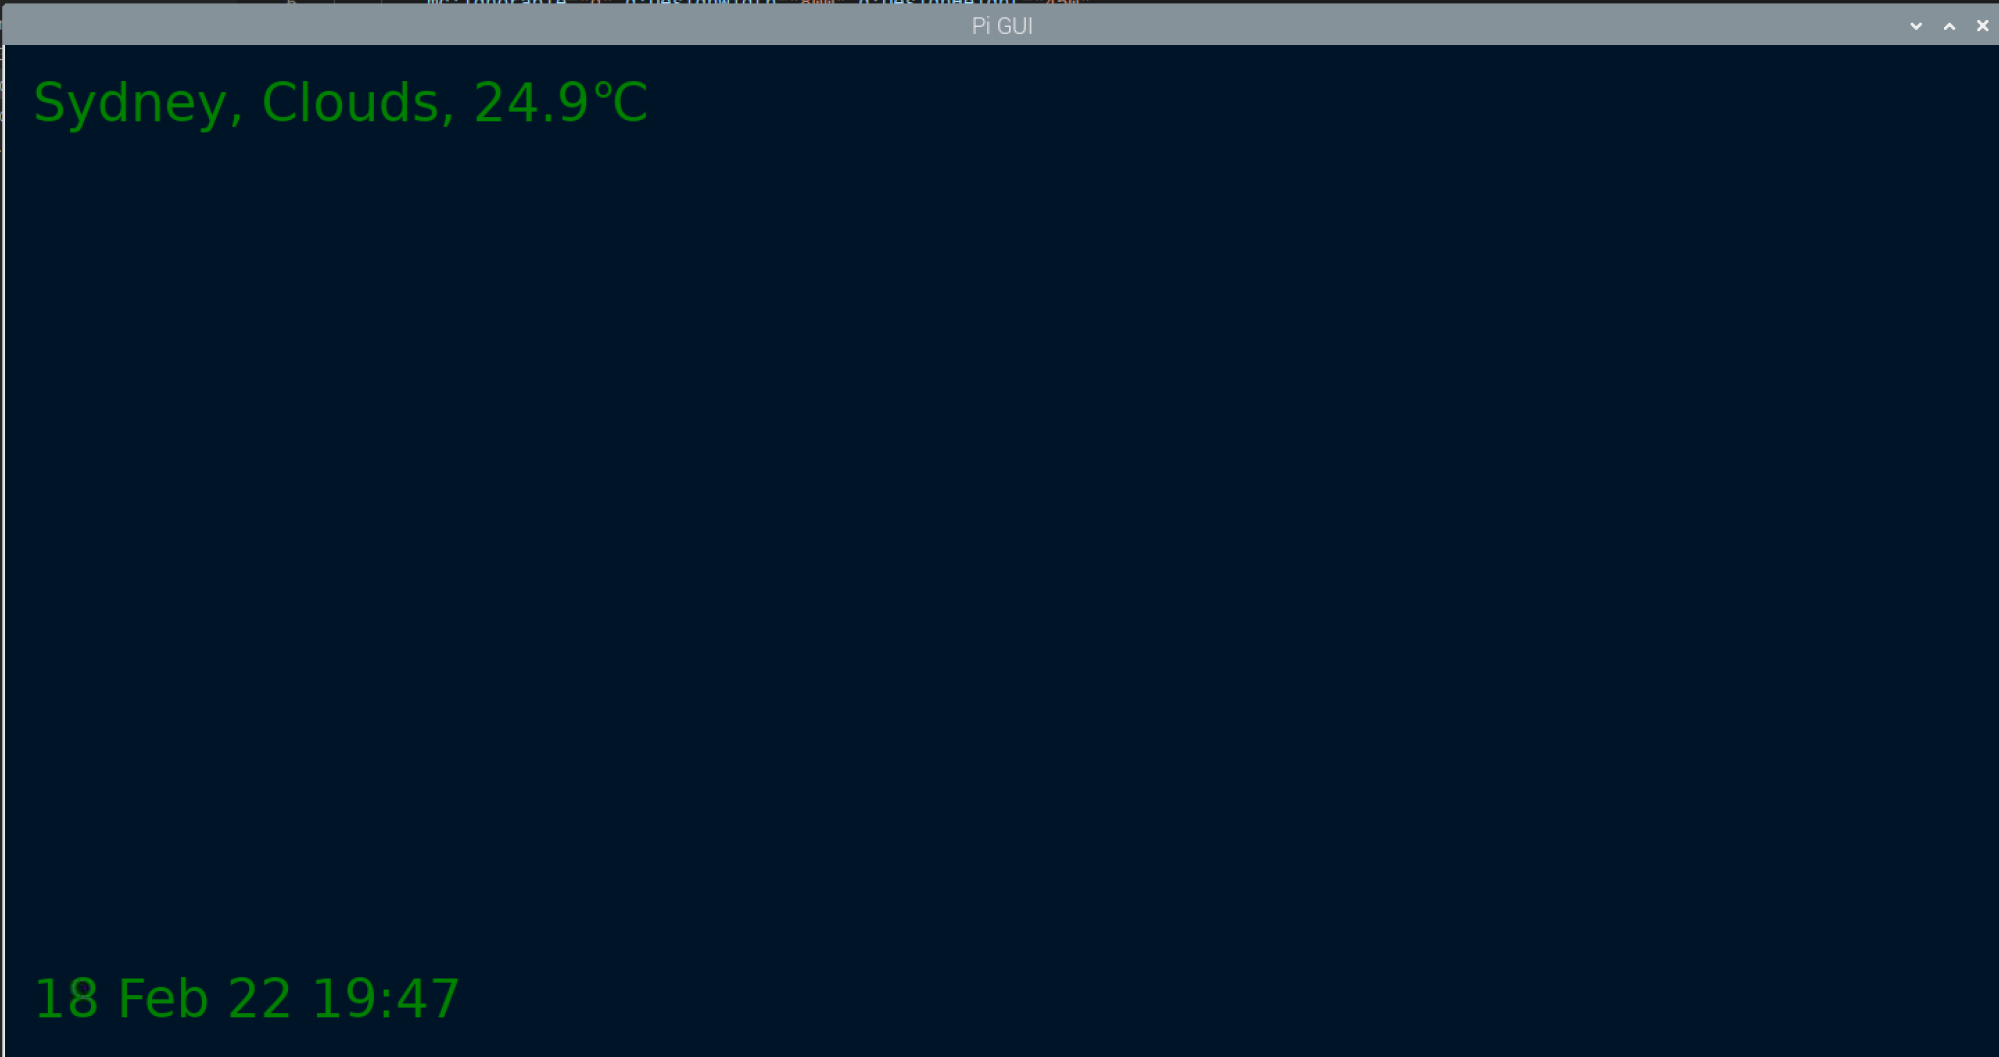
Close the new application by clicking on the close (X) button in the top right on the window.
Conclusion
In this Note a new GUI application has been created for the Raspberry Pi, this application displays the time and weather. While it is very simple, it has provided an introduction to working with Avalonia in .NET to create a GUI that will work on multiple platforms, including a Raspberry Pi.