Dr. Neil's Notes
Software > Coding
.NET camera feed viewer on Raspberry Pi with Avalonia
Introduction
In previous Notes I have documented how to get a Raspberry Pi setup to develop with .NET, a few simple console programs that Animate ASCII art, display a clock, and display the weather. Recent Notes have explored how to create a .NET Camera Server on Raspberry Pi and how to create a .NET picture frame on a Raspberry Pi with Avalonia.
This Note explains how to build a desktop GUI application on the Raspberry Pi that displays the camera feed from a different Raspberry Pi. The graphical user interface (or GUI) will be built using an open source GUI toolkit called Avalonia.
Before reading this Note, it is recommended you read the Notes on how to create a .NET GUI application on Raspberry Pi with Avalonia, how to create a .NET Camera Server on Raspberry Pi and how to create a .NET picture frame on a Raspberry Pi with Avalonia.
The code shown in this Note may work on other platforms supported by .NET 6, it has been tested on a Raspberry Pi, Windows, and Mac.
If you want to get a Raspberry Pi setup to run .NET code, follow the instructions in the .NET Development on a Raspberry Pi Note.
This Note assumes you have installed .NET 6 and Visual Studio Code.
Create the project
If there is not already a folder for code projects, create a folder for code projects. I created a folder called dev.
Open a Terminal window on the Raspberry Pi, and navigate to the folder where you want to create the new folder (e.g. Documents), then enter
 mkdir dev
 ```

This makes the directory **dev**

Navigate to that directory

```console
 cd dev
 ```

Create a directory for this project, named **dotnetPiCamViewer**

```console
 mkdir dotnetPiCamViewer
 ```

Change the directory to the new folder created.

```console
 cd dotnetPiCamViewer/
 ```

If you have not already installed the Avalonia project templates, install the project templates for Avalonia

```console
dotnet new -i Avalonia.Templates
Create a simple Avalonia GUI application with the following command
dotnet new avalonia.app
To see the files created, use the
tree command
/Documents/dev/dotnetPiCamViewer $ tree
.
├── App.axaml
├── App.axaml.cs
├── dotnetPiCamViewer.csproj
├── MainWindow.axaml
├── MainWindow.axaml.cs
└── Program.cs

0 directories, 6 files
Compile and run the new application from the Terminal window with dotnet run
The dotnet run command will compile the project code in the current folder and run it.
dotnet run
The project will be built and then run, showing a simple blank window with the text 'Welcome to Avalonia!'
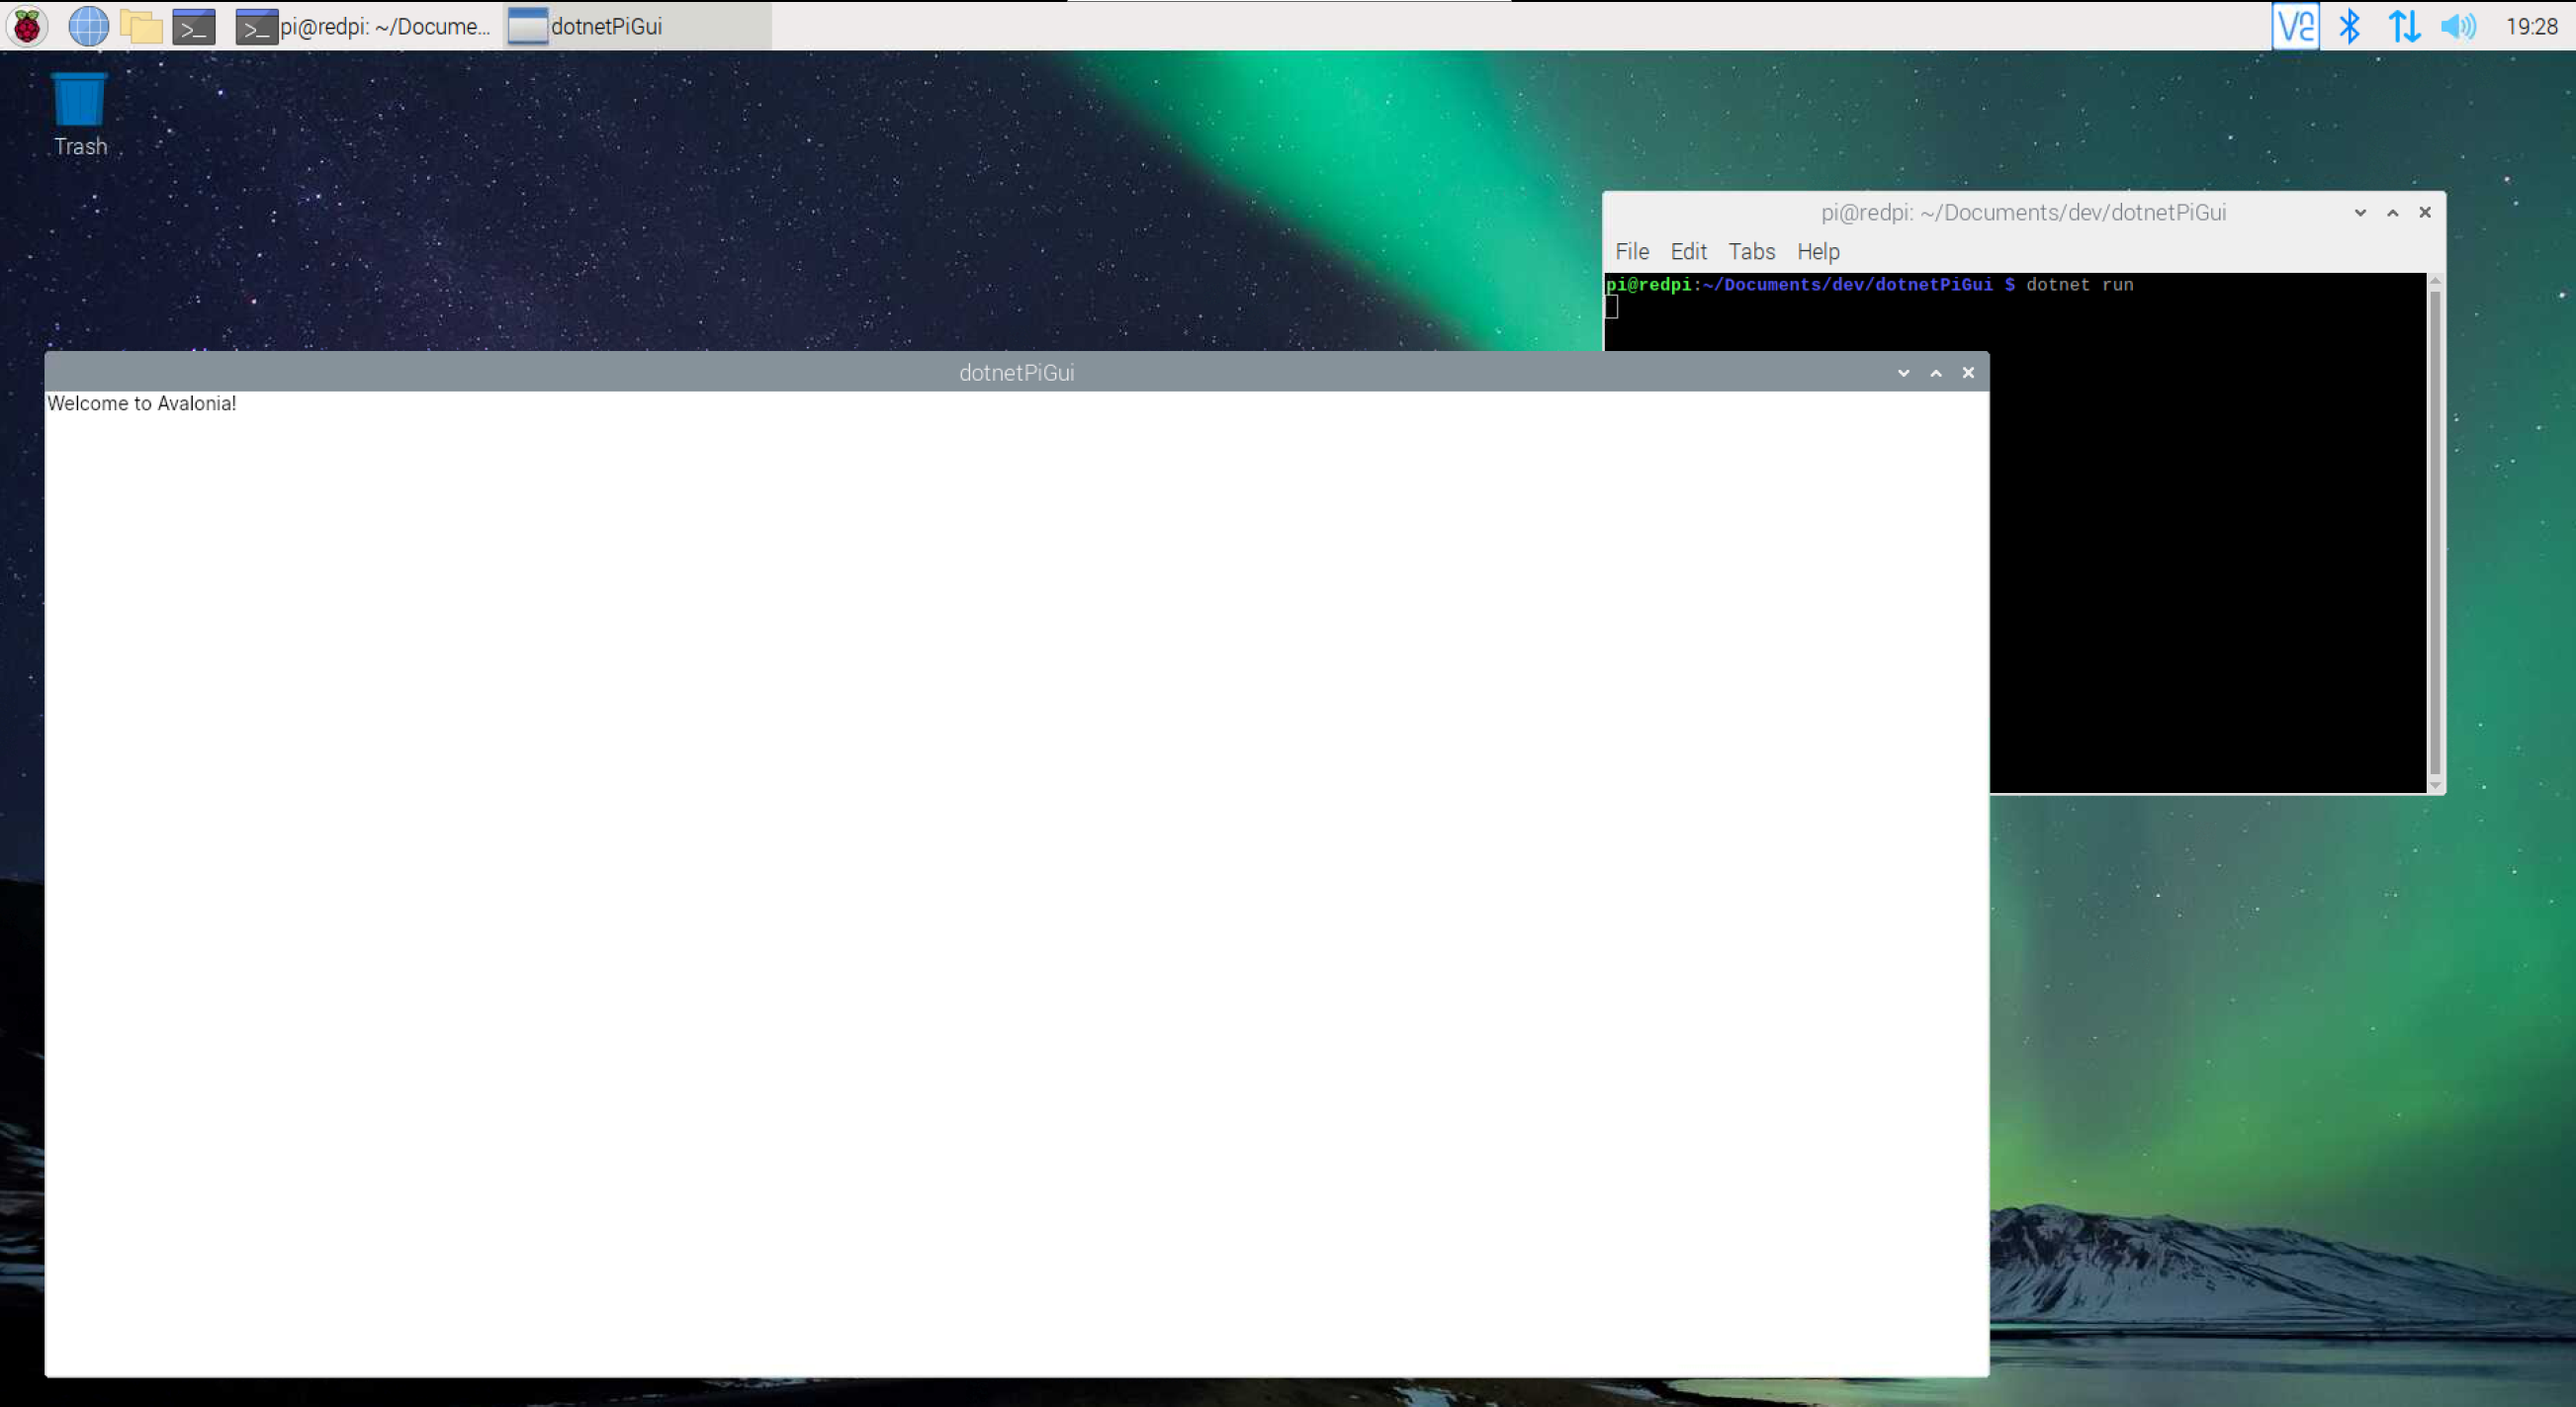
Close the new application by clicking on the close (X) button in the top right on the window.
Convert the feed to an Image
In the Note on how to create a .NET picture frame on a Raspberry Pi with Avalonia, the picture frame app displays the pictures from file in a folder, one picture after the next, pausing 10 seconds between pictures.
In the Note on how to create a .NET Camera Server on Raspberry Pi, a web server is created that streams the images from the camera over a web API, one after the other.
In this Note a feed from a camera server will be consumed, and the results displayed an image at time on the screen.
Open Visual Studio Code from the dotnetPiCamViewer folder.
code .
In Visual Studio Code open the MainWindow.axaml file to edit the user interface.
Change the Title attribute to "Camera Viewer". Replace the "Hello to Avalonia!" text with an Image named FrameImage.
<Window xmlns="https://github.com/avaloniaui"
        xmlns:x="http://schemas.microsoft.com/winfx/2006/xaml"
        xmlns:d="http://schemas.microsoft.com/expression/blend/2008"
        xmlns:mc="http://schemas.openxmlformats.org/markup-compatibility/2006"
        mc:Ignorable="d" d:DesignWidth="800" d:DesignHeight="450"
        x:Class="dotnetPiCamViewer.MainWindow"
        Title="Camera Viewer">
    <Image x:Name="FrameImage" />
</Window>
Save the MainWindow.axaml file.
In Visual Studio Code open the MainWindow.axaml.cs file to edit the code.
At the top of the file add using statements to import the namespaces used in the code that follows.
using Avalonia.Media.Imaging;
using Avalonia.Threading;
using System;
using System.IO;
using System.Net.Http;
using System.Threading.Tasks;
In the MainWindow class add member variables to:
- hold the URL of the video feed,
- a reference to the Image in the user interface,
- a Bitmap for the current frame
NOTE: The URL in the VideoUrl variable should be the correct URL of the dotnetPiCamServer as described in the Note on how to create a .NET Camera Server on Raspberry Pi. To see the code that is sending the image frames, review that Note.
string VideoUrl => @"http://192.168.1.152:8080/Video";
Image image;
Bitmap? frameImage;
In the MainWindow class constructor initialize the image variable and start a new Task that will run while the program runs to update the frames from the camera feed.
public MainWindow()
{
    InitializeComponent();
    image = this.FindControl<Image>("FrameImage");
    Task.Run(async() => await UpdateFrameImage());
}
Most of the work is done in the UpdateFrameImage method. This method opens an HTTP request to the camera server and starts retrieving the frame images to display on the screen.
async Task UpdateFrameImage()
{
    if (image != null)
    {
        HttpClient client = new HttpClient();

        using HttpResponseMessage response = await client.GetAsync(VideoUrl, HttpCompletionOption.ResponseHeadersRead);

        using HttpContent content = response.Content;
        using var stream = await content.ReadAsStreamAsync();

        byte[] buffer = new byte[4096];
        var lengthMarker = "Content-Length:";
        var endMarker = "\r\n\r\n";

        while (true)
        {
            try
            {
                Array.Fill<byte>(buffer, 0, 0, buffer.Length);
                int len = await stream.ReadAsync(buffer, 0, buffer.Length);
                var header = System.Text.Encoding.Default.GetString(buffer);

                var lengthStart = header.IndexOf(lengthMarker) + lengthMarker.Length;
                var lengthEnd = header.IndexOf(endMarker);
                if (lengthEnd > lengthStart)
                {
                    var lengthString = header.Substring(lengthStart, lengthEnd - lengthStart);

                    int frameSize = int.Parse(lengthString);
                    byte[] frameBuffer = new byte[frameSize];

                    int totalBytesCopied = (int)len - (lengthEnd + endMarker.Length);
                    if (totalBytesCopied > 0)
                    {
                        Array.Copy(buffer, lengthEnd + endMarker.Length, frameBuffer, 0, totalBytesCopied);
                    }

                    while (totalBytesCopied < frameSize)
                    {
                        totalBytesCopied += await stream.ReadAsync(frameBuffer, totalBytesCopied, frameBuffer.Length - totalBytesCopied);
                        await Task.Yield();
                    }
                    using MemoryStream ms = new(frameBuffer);
                    frameImage = new Bitmap(ms);

                    await Dispatcher.UIThread.InvokeAsync(() => { image.Source = frameImage; });
                }
            }
            catch(Exception ex)
            {
                Console.WriteLine(ex.ToString());
            }
        }
    }
}
To explain this method in stages. An HttpClient object is created to connect to the server that sends the images from the camera. The server is located at the URL in the VideoUrl variable declared earlier.
The GetAsync method, called with the URL, retrieves a response that contains information about the content provided by the server. The content of the response is read into a stream variable.
HttpClient client = new HttpClient();

using HttpResponseMessage response = await client.GetAsync(VideoUrl, HttpCompletionOption.ResponseHeadersRead);
using HttpContent content = response.Content;
using var stream = await content.ReadAsStreamAsync();
To read the stream a byte array is created, that can hold the response content.
Two hardcoded strings that represent the start and end points of the information to extract. For more information on how the content is sent review the Note on how to create a .NET Camera Server on Raspberry Pi.
byte[] buffer = new byte[4096];
var lengthMarker = "Content-Length:";
var endMarker = "\r\n\r\n";
The buffer byte array is initialized at the start of the loop, this allows the same byte array to be reused. If you reuse a byte array it is important to clear it, before filling it again, otherwise it will have content from the last loop.
The response content is then read into the byte array, and copied into a string. This makes it easier to convert to a string that represents the initial header information.
Array.Fill<byte>(buffer, 0, 0, buffer.Length);
int len = await stream.ReadAsync(buffer, 0, buffer.Length);
var header = System.Text.Encoding.Default.GetString(buffer);
Then the string between "Content-Length:" and "\r\n\r\n" is extracted into the lengthString variable, and then converted to an int to get the size of the frame image.
var lengthStart = header.IndexOf(lengthMarker) + lengthMarker.Length;
var lengthEnd = header.IndexOf(endMarker);
if (lengthEnd > lengthStart)
{
    var lengthString = header.Substring(lengthStart, lengthEnd - lengthStart);

    int frameSize = int.Parse(lengthString);
The totalBytesCopied variable is then set to the number of bytes that can be copied from the buffer after the endMarker, if any. This is then copied from the buffer, into the frameBuffer byte array.
While the totalBytesCopied is less than the size of the image frame, the stream is read into the frameBuffer, until a whole image frame has been received.
int totalBytesCopied = (int)len - (lengthEnd + endMarker.Length);
if (totalBytesCopied > 0)
{
    Array.Copy(buffer, lengthEnd + endMarker.Length, frameBuffer, 0, totalBytesCopied);
}

while (totalBytesCopied < frameSize)
{
    totalBytesCopied += await stream.ReadAsync(frameBuffer, totalBytesCopied, frameBuffer.Length - totalBytesCopied);
    await Task.Yield();
}
Once the frameBuffer has been filled up with all the bytes for the image, a new Bitmap is created from the bytes in the frameImage class variable.
using MemoryStream ms = new(frameBuffer);
frameImage = new Bitmap(ms);
Once a Bitmap is created it can be set to the display source of the image. This is being done on the UIThread as it will update the user interface, and the user interface is owned by a specific thread.
await Dispatcher.UIThread.InvokeAsync(() => { image.Source = frameImage; });
Save the MainWindow.axaml.cs file.
Compile and run the new application from the Terminal window with dotnet run
dotnet run
The project will be built and then run, if you have the camera server running on another Raspberry Pi, and the URL has been correctly set, you should see the feed from the other camera in the new application.
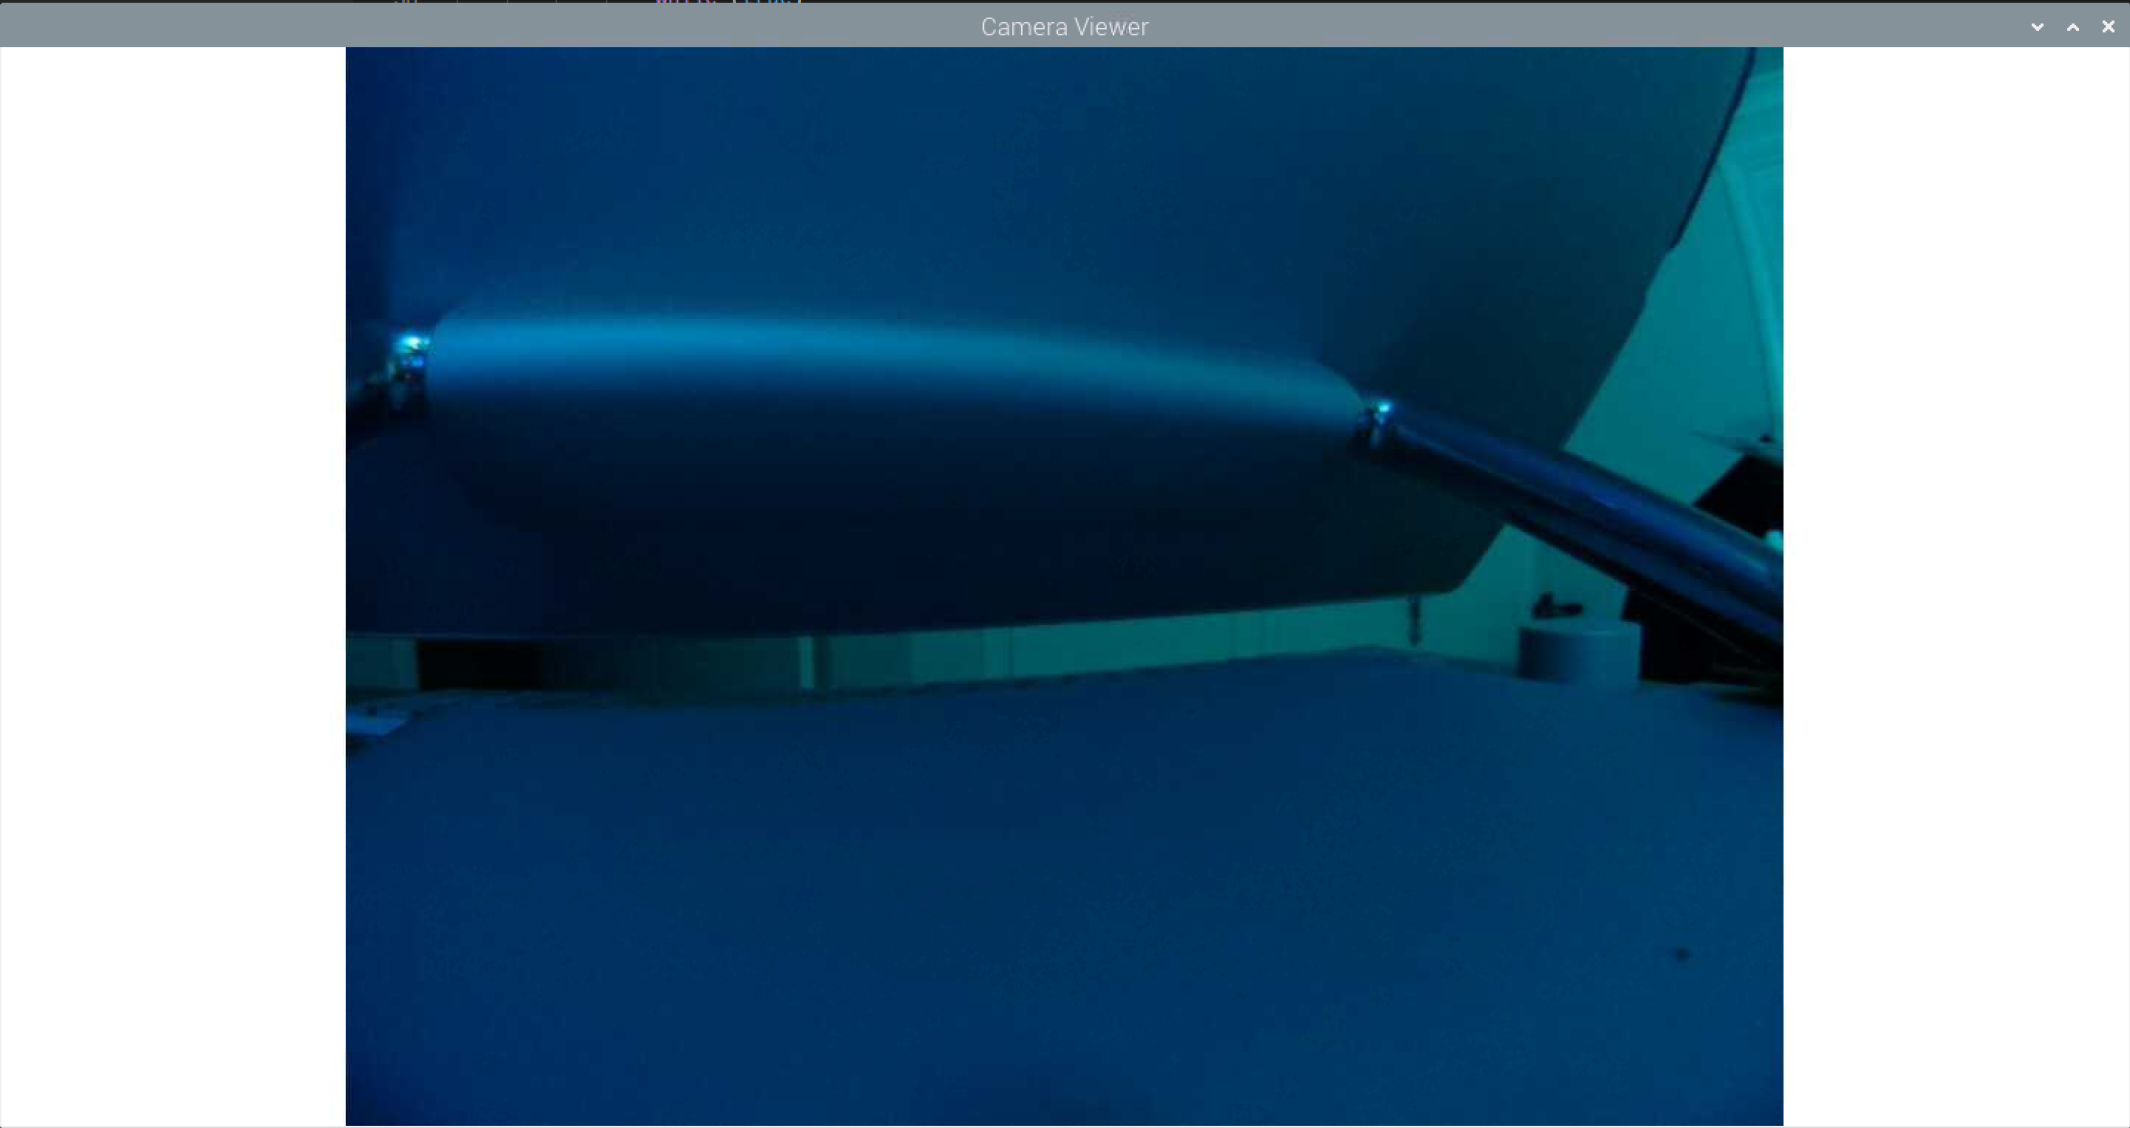
Close the new application by clicking on the close (X) button in the top right on the window.
Conclusions
This Note provides an explanation of how to create a user interface application on a Raspberry Pi that can display the camera feed from another Raspberry Pi, as described in the Note on how to create a .NET Camera Server on Raspberry Pi.
The code reads the stream of frame images from the server and displays the images in a window on the screen.
This code should run on any platform supported by .NET 6 and Avalonia.